Photo:Swati H. DasThis post may contain affiliate links.
If you make a purchase, My Modern Met may earn an affiliate commission.
yo readour disclosurefor more info.
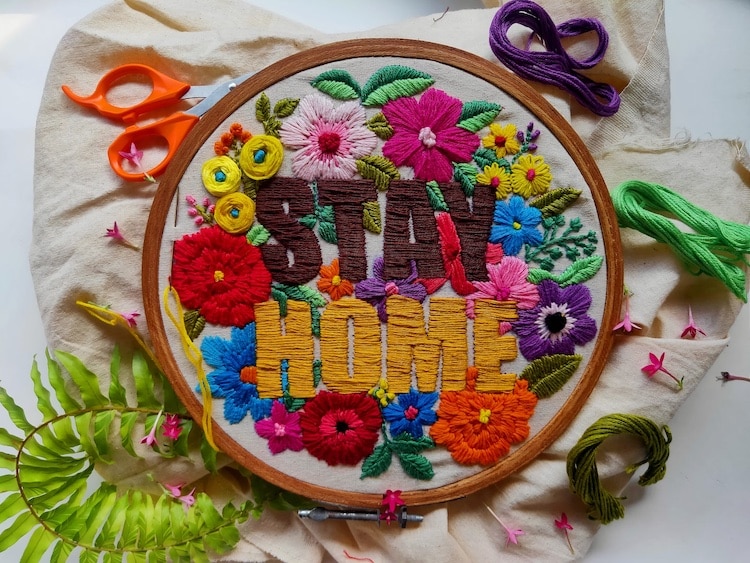
Photo:Swati H. DasThis post may contain affiliate links. If you make a purchase, My Modern Met may earn an affiliate commission. Please readour disclosurefor more info.
One of the best skills to have as an embroiderer is an ability tostitch letters.
If you’ve ever wanted to trymonograms, this is the perfect opportunity.
It might seem like a challenge toembroider letters.
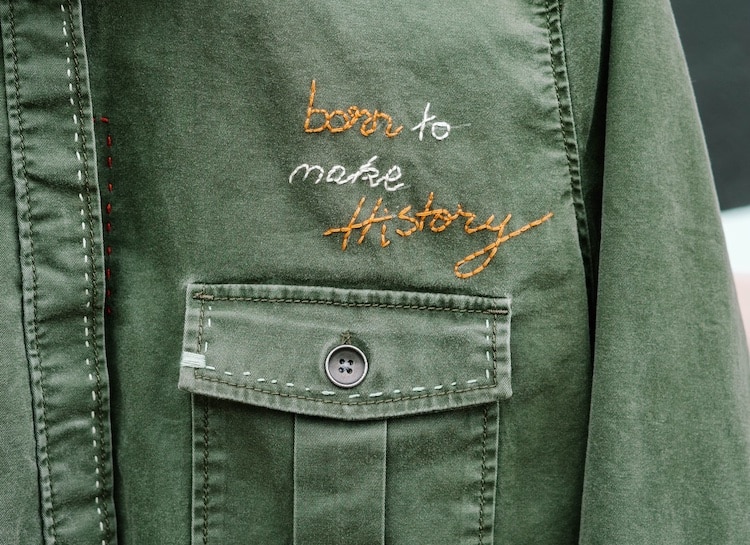
Photo:Toa Heftiba
The good news is that if you know somebasic stitches, you already know how to embroider them.
Thats rightyou dont have to have any additional skills to sew a letter.
You just need a nice-looking name or phrase to stitch.
Janyun| $8.99
There are two components to embroidering letters: eye-pleasing lettering and well-executed stitching.
Its as simple as first formatting it on your machine.
To see the possibilities, check out the selection onGoogle Fonts.
Sulky| $14.14
Its an open-source library with 1,482 font families that you could download to your gear.
Take advantage of their search filter to find something that will work for you.
There are a couple of ways to do that: using a lightbox or printing on wash-away stabilizer.
Photo: Sara Barnes / My Modern Met
How to transfer an embroidery pattern on fabric.
There are multiple ways to transfer an embroidery pattern onto your fabric.
Here are two common approaches: one that uses apenand the other that uses a special material calledwash-away stabilizer.
Both will accurately transfer your text, so snag the method that appeals to you.
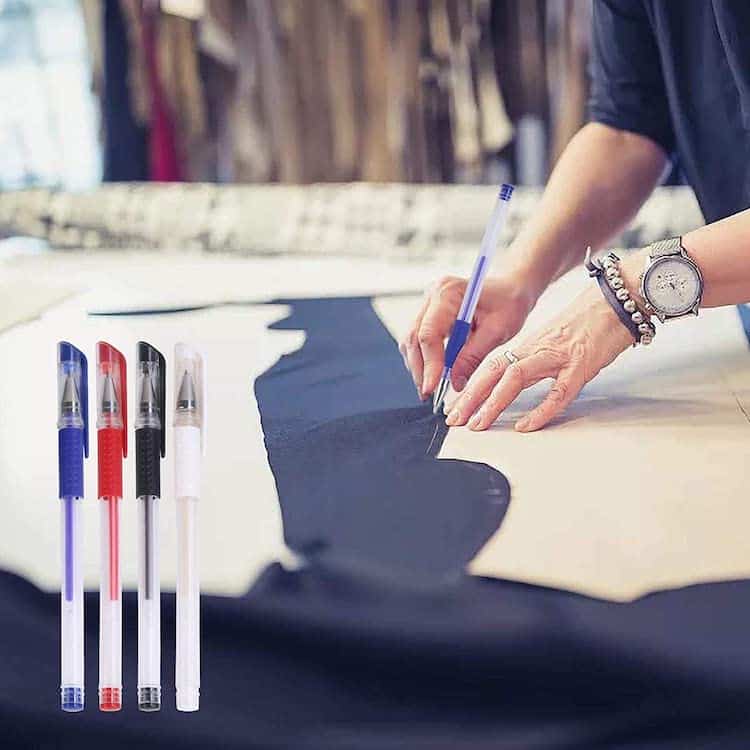
There is a caveat, howeveryou must have access to a printer to print your text.
All that is required (beyond the printer) is a pen and alight boxor sunny window.
To transfer, place your printed text under the fabric up to the source of light.
You should be able to see the text.
Then, use your pen to trace it onto the fabric.
As far as utensils are concerned, aballpoint penis a popular choice.
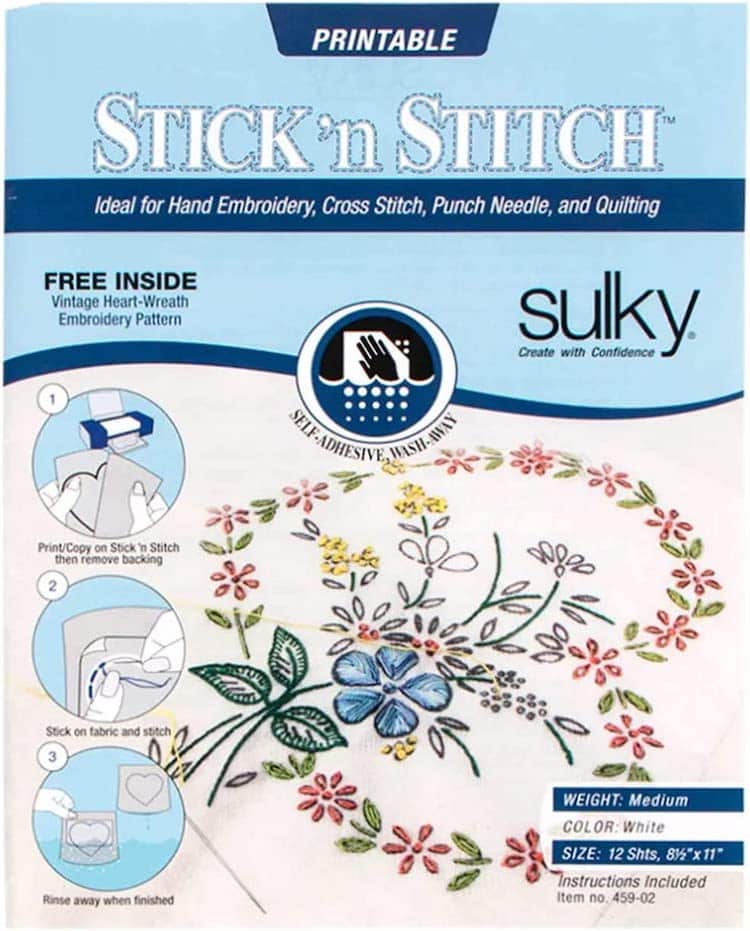
These are all reasons to use wash-away stabilizer, also calledstick and stitch stabilizer.
Stick and stitch stabilizer is meant to fit in your printer.
Once inserted, youll simply print your design like you would any sheet of paper.
Then, cut around the image and peel it from the stabilizer backing.
Stick it onto your fabric.
you could then start stitching as you normally would.
When done, rinse the design under warm water to wash it away.
But there are some stitches that are easier to incorporate into text than others.
Each is considered a basic stitch and easy to learn.
Need help getting started?
Check out these tutorials below.
Its made by inserting your needle and working backward with each stitch forward.
You’ll have one stitch-length size space between your first stitch and the one you just made.
(Not to be confused with thechain stitch, also on this list.)
Start the stitch by going a stitch length forward.
Your needle will now be on the backside of your fabric.
Once you’ve split the stitch, move a stitch length forward as you normally would.
Begin by bringing up the needle from the back of your fabric to the front.
Bring the needle up through your fabric until you’ve filled the area with satin stitches.
Start by bringing your needle up through your fabric and then down again in the same hole.
Pull your thread and you should have the first link in your chain.
This stitch uses two threads: yourlaid threadand yourworking thread.
Start by placing your laid thread in the shape that you want it.
Then, bring your working thread up through the fabric on one side of the laid thread.
Go over the laid thread and straight over to the other side.
It will look like a little dot over the laid thread.
Complete this until you’ve made it to the end of the string.
