Photo credit:Ruslan Grumble / Shutterstock.
This post may contain affiliate links.
yo readour disclosurefor more info.

Photo credit:Ruslan Grumble / Shutterstock. This post may contain affiliate links. Please readour disclosurefor more info.
One way is by running their own online shop.
It’s something that you’ve got the option to do, too.
Like blogging, it can seem like you have endless options when it comes to eCommerce.
So, what will you choose?
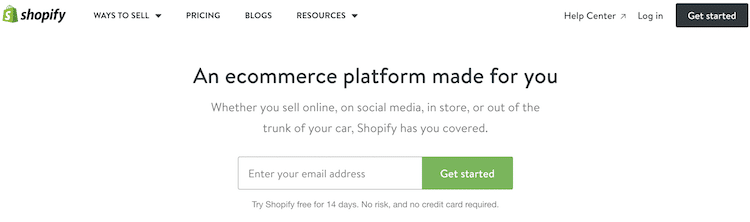
Shopifyis one of the most popular eCommerce platforms for selling your creative goods.
In fact, you may not have noticed but youve probably bought something from a store that uses it.
And if you cant tell that the store uses Shopify, then its doing its job!
Shopify is meant to give online stores a stylish framework for selling their wares.
Unlike other sites, Shopify isnt a marketplace.
You cant go to their website and browse thousands of products.
Rather, you go to the stores unique URL and browse only their productsnot their competitors wares.
There are other advantages to picking Shopify as your store platform.
One big plus is its flexibility.
Nearly every aspect of your shop can be tweaked to your liking.
We’ll show you how through these 5 steps.
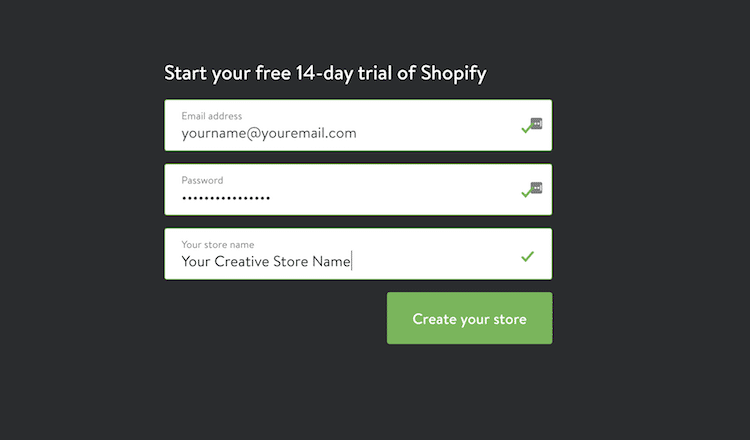
Step 1: Sign up for Shopify.
If you’re still unsure about creating your online shop, that’s okay!
Shopify gives you a14-day free trialwith no credit card required.
Start by filling out your email address, password, and store name.
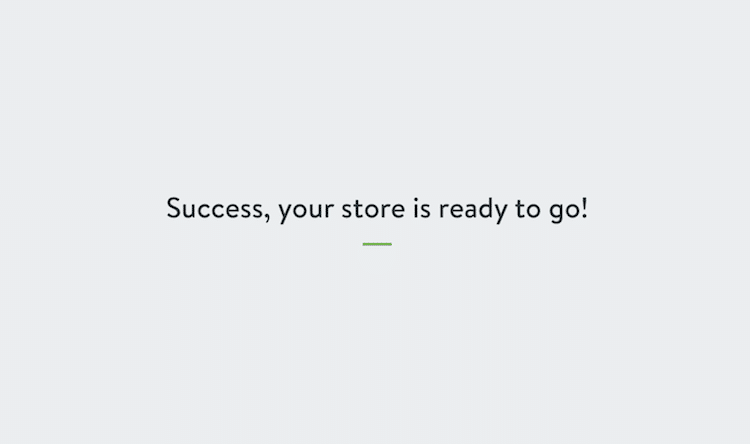
Then click Create your store.
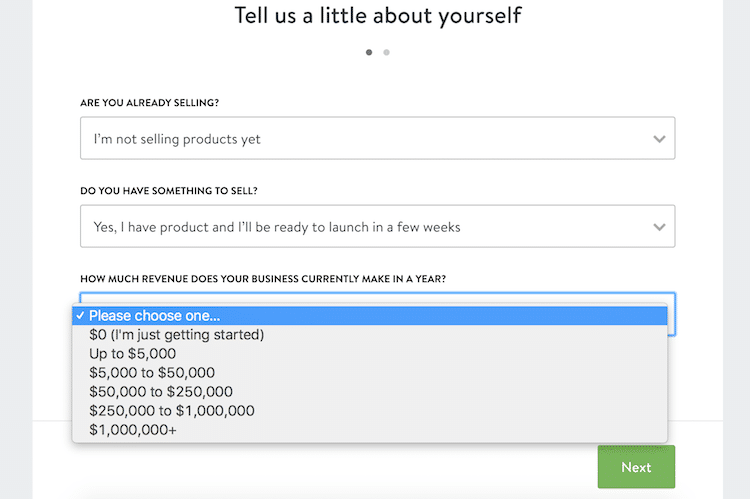
There, you’ll fill out three questions that help Shopify get to know you.

After you’re done, click Next.
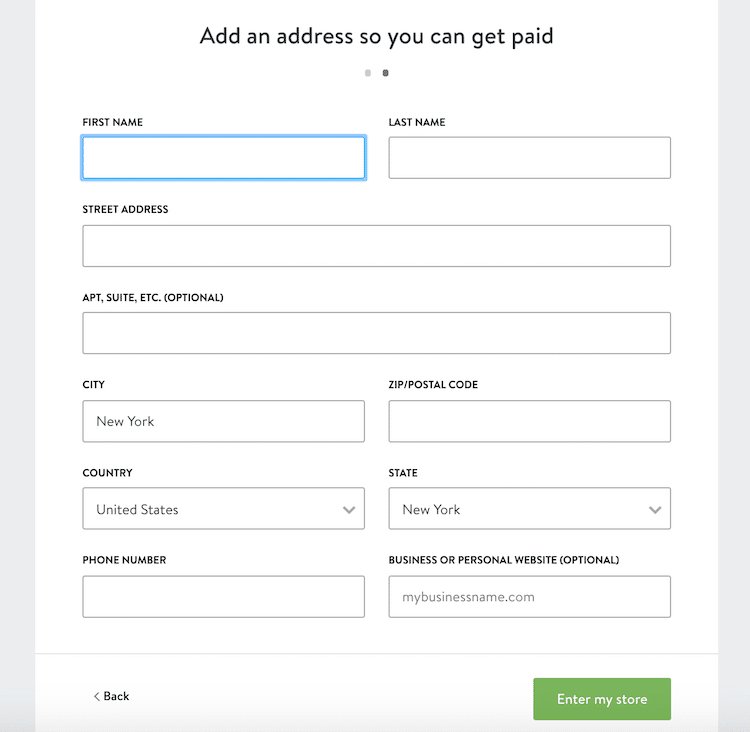
Now, add an address so it’s possible for you to get paid.
Once you hit the green button Enter my store, it’ll take you to the Shopify dashboard.
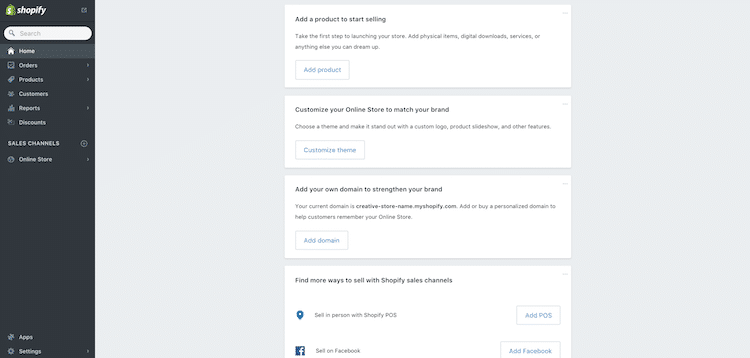
Step 2: Learn the dashboard.
Like many online web interfaces, Shopify has a dashboard.
Step 3: Customize your shop with a theme.
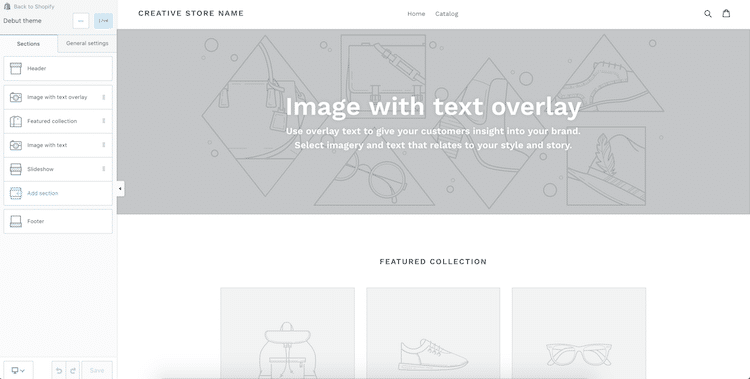
To begin customizing your page, smack the Customize button on the dashboard.
The default theme is calledDebut, and it is a standard, clean layout.
You have links at the top with a large image that spans across the screen.
Products are located below.
Customizing a storefront looks like this.
Everything is very visualno hard coding required.
You’ll be able to see how it looks on the right.
But maybe you don’t want theDebuttheme.
Don’t worryShopify has you covered!
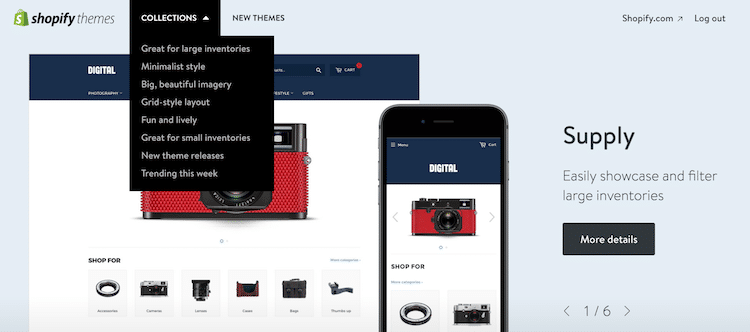
Visit their Theme Store to search for free or paid designs to fit exactly what you’re looking for.
They’ve got a whole marketplace that’s organized around what a store owner would need.
Maybe you’ve got a large inventory or need a grid-style layout.
Shopify themes has them both.
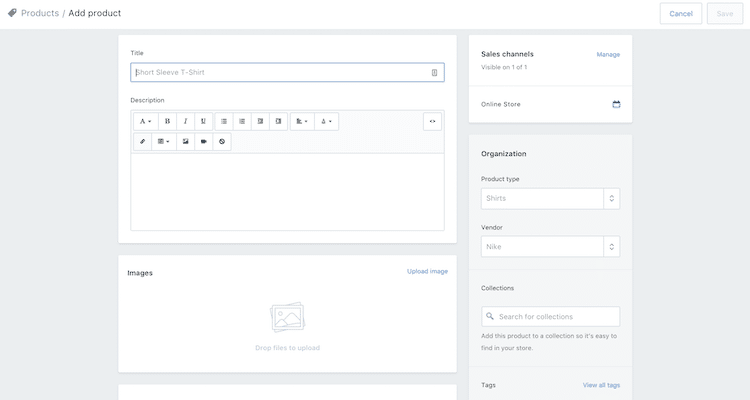
Step 4: List your first product.
You’re never going to get any sales if you don’t list your first product.
Luckily, it’s easy to do.
Like the rest of Shopify, it’s very visual and user friendly.
To get there from your dashboard, just press Products on the left-hand side of the screen.
The online form has a place to title your product, add a description, and upload a photo.
By doing this, you’re making it easier for people to find on your website.
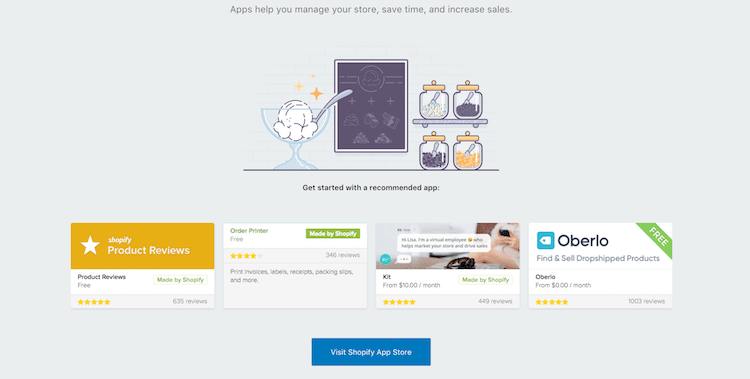
Step 5: Add 3rd party products to maximize your shop.
you’ve got the option to take your Shopify experience further by adding apps to your shop.
To start using apps, press the Apps button in your dashboard.
It’s near the bottom of the screen on the left.
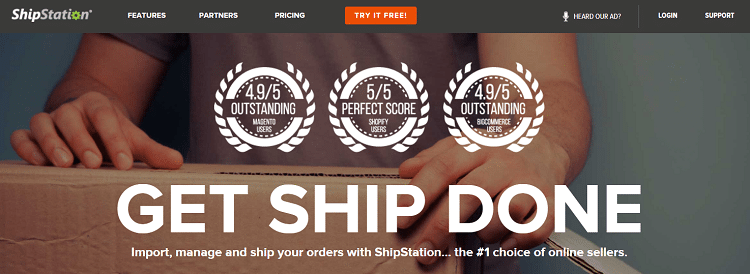
For shipping, one app we recommend isShipStation.
It automates the process of order fulfillment and prints shipping labelsso they’re ready to go in minutes.
All you have to do is get your goods to your mail carrier.
It currently has a30-day free trialwith a 5/5 satisfaction score from Shopify users.
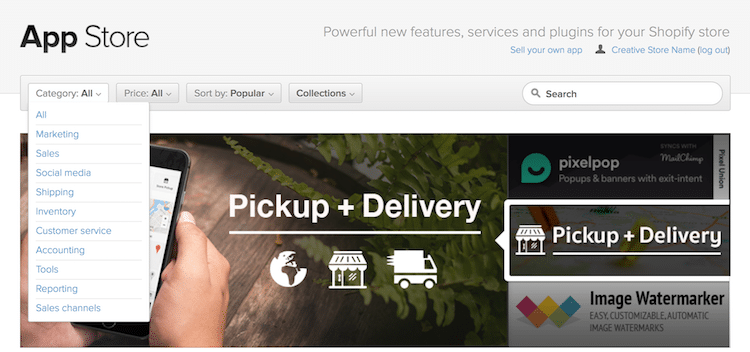
Of course, the apps don’t stop there.
And although the amount of choices can seem overwhelming, it doesn’t have to be.
