So, what better way is there to celebrate the beloved pumpkin than by learning how to draw it?
If capturing the characteristic textures of pumpkins seems a little daunting, don’t worry.
What’s important is to learn how to sketch the basic shapes before you flesh out the details.
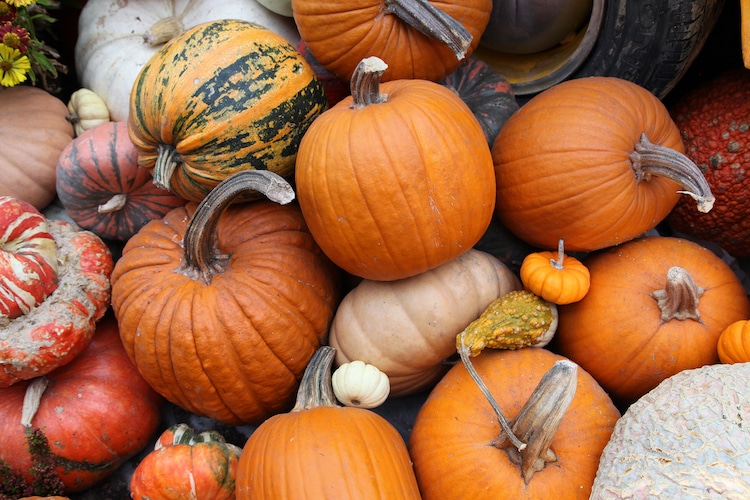
Photo:Stock Photosfrom Jacqui Martin/Shutterstock
Then let’sdraw a pumpkin!
This will be the base of the stem.
Step 3: Sketch the stem
Next, it’s time todraw the stem.
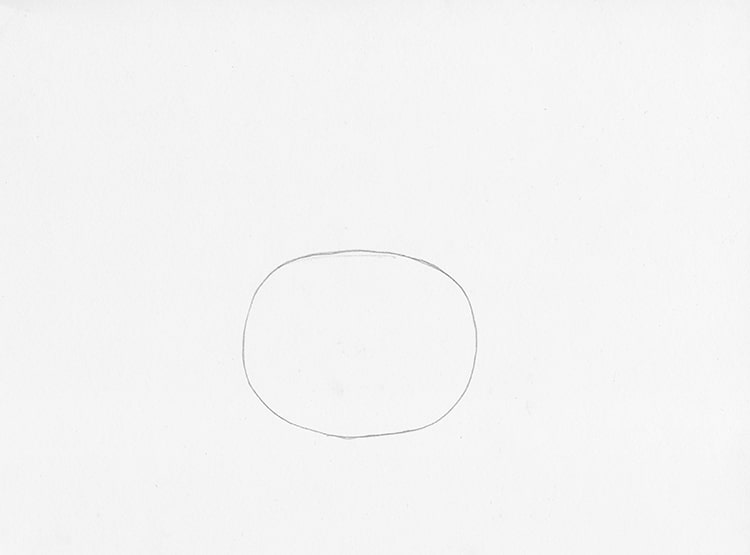
Photo & Art: Margherita Cole | My Modern Met
This can be as long or as short as you want.
In this example, the stem will be on the longer side and twisting slightly up.
It should have a ribbon-like appearance.
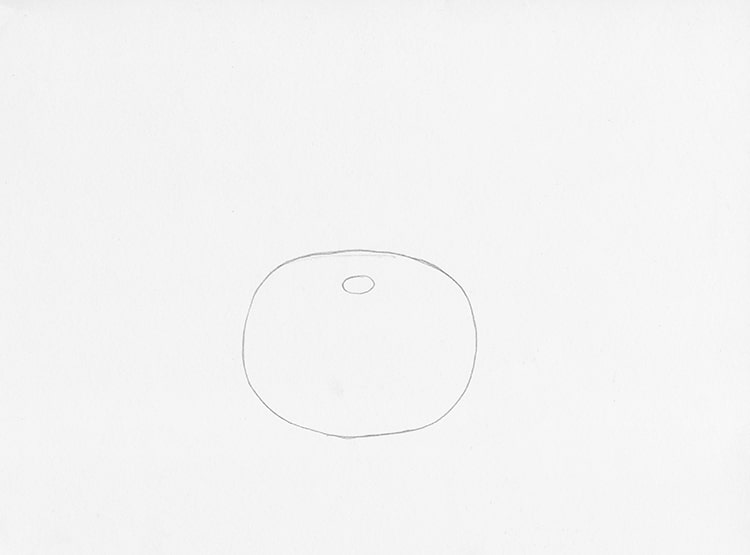
Photo & Art: Margherita Cole | My Modern Met
Continue adding these curved lines at relatively equal distance around the pumpkin.
The final result should look a little like a peeled orange.
If you want, you might also tack on alarge leaf.
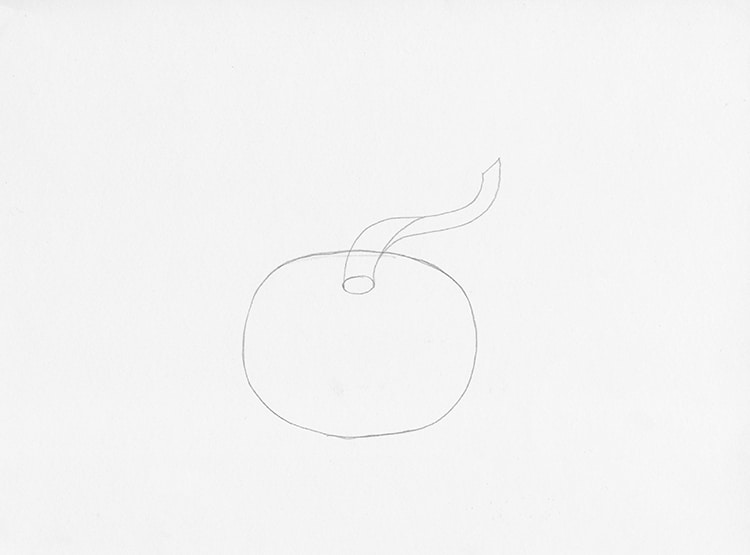
Photo & Art: Margherita Cole | My Modern Met
Then, add a few hatch marks to each section for texture.
So, grab your favoritetechnical penand carefully trace your pencil lines.
To avoid unintentional smudging, be sure to keep a scrap of paper under your drawing hand.
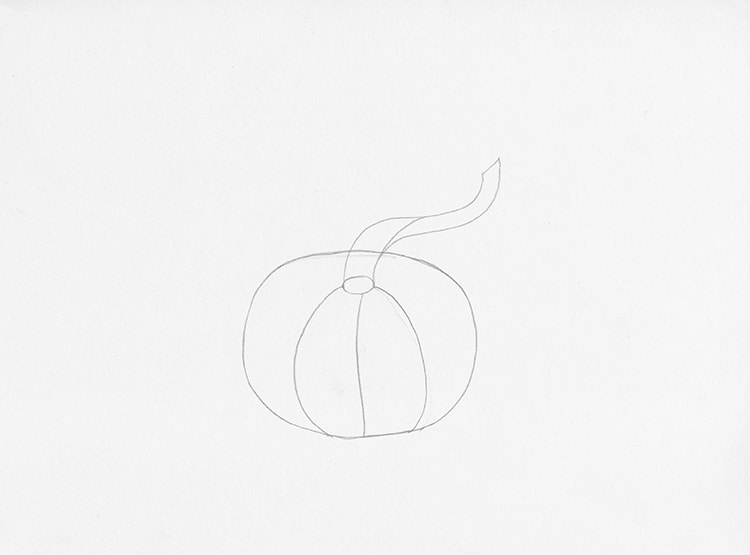
Photo & Art: Margherita Cole | My Modern Met
An easy way to do this is to usestippling and hatching.
Then, add a shadow beneath the gourd to give it three-dimensionality.
Usecross-hatchingfor the part of the shadow that is closest to the pumpkin.
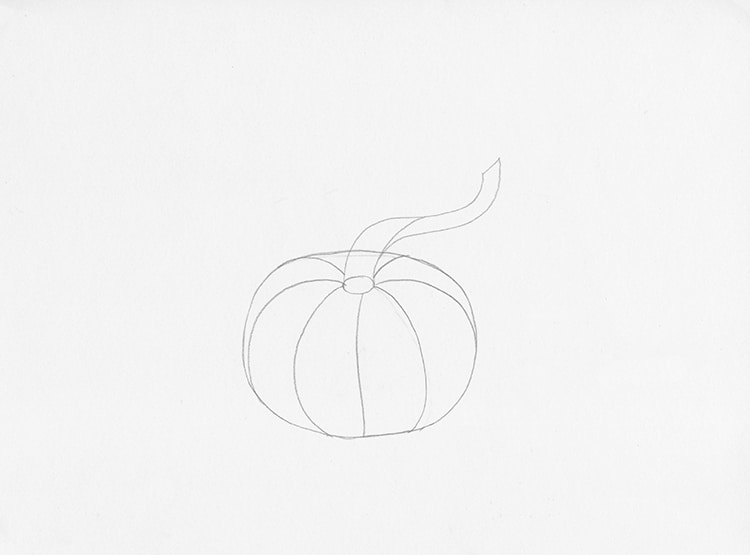
Photo & Art: Margherita Cole | My Modern Met
Looking for others who love drawing?
Join ourArt, Design, Photography, and Drawing Clubon Facebook!
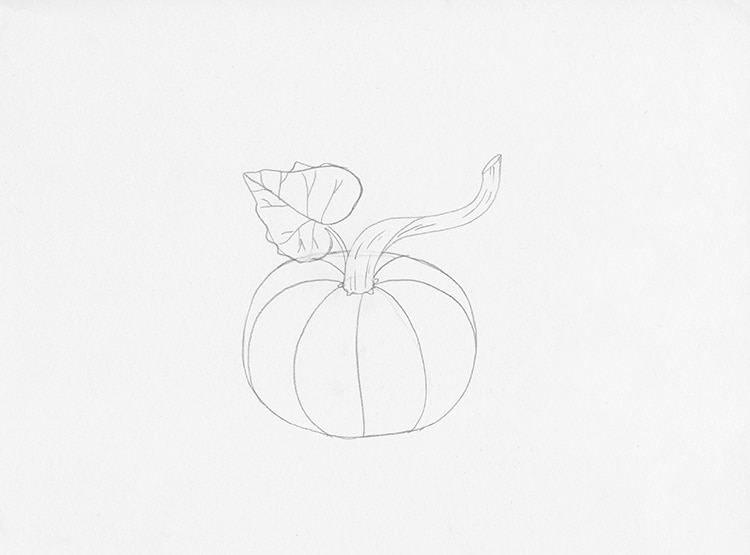
Photo & Art: Margherita Cole | My Modern Met
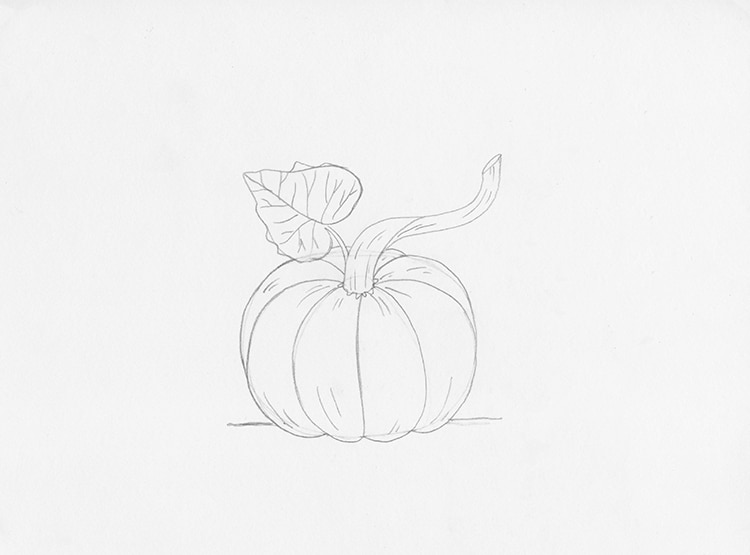
Photo & Art: Margherita Cole | My Modern Met
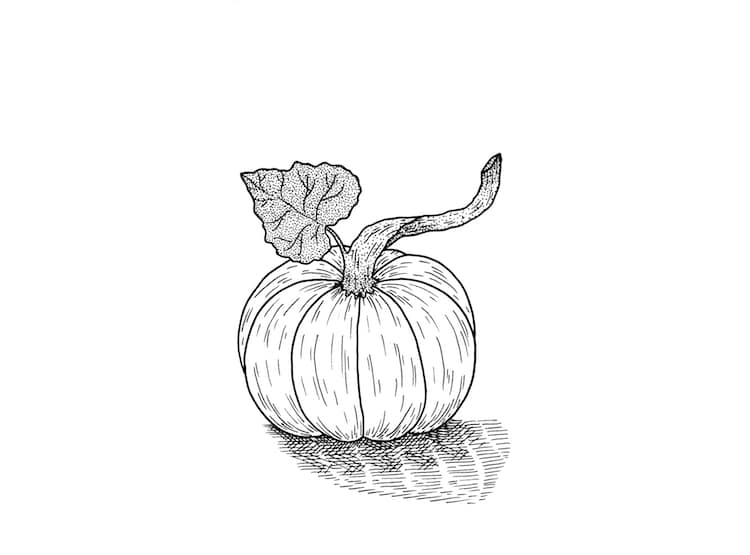
Photo & Art: Margherita Cole | My Modern Met
