When it comes to creating a feather drawing, the process is similar from bird to bird.
To demystify bird drawing, were going to show you both elements.
So, get your pencils and paper ready and check out our step-by-step tutorial.
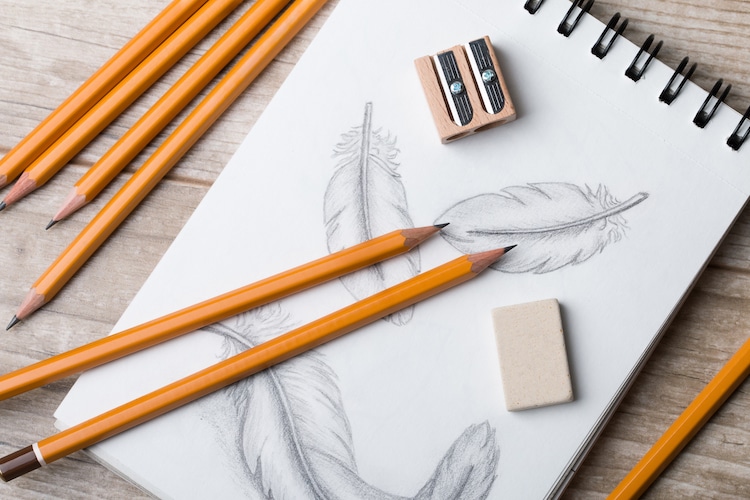
Photo:Stock Photosfrom ldutko/Shutterstock
Learn how to create a feather drawing in our step-by-step tutorial.
Notice that at its base is a hollow shaft called thecalamus.
With the help of these tiny elements, they give the entirevaneits shape.
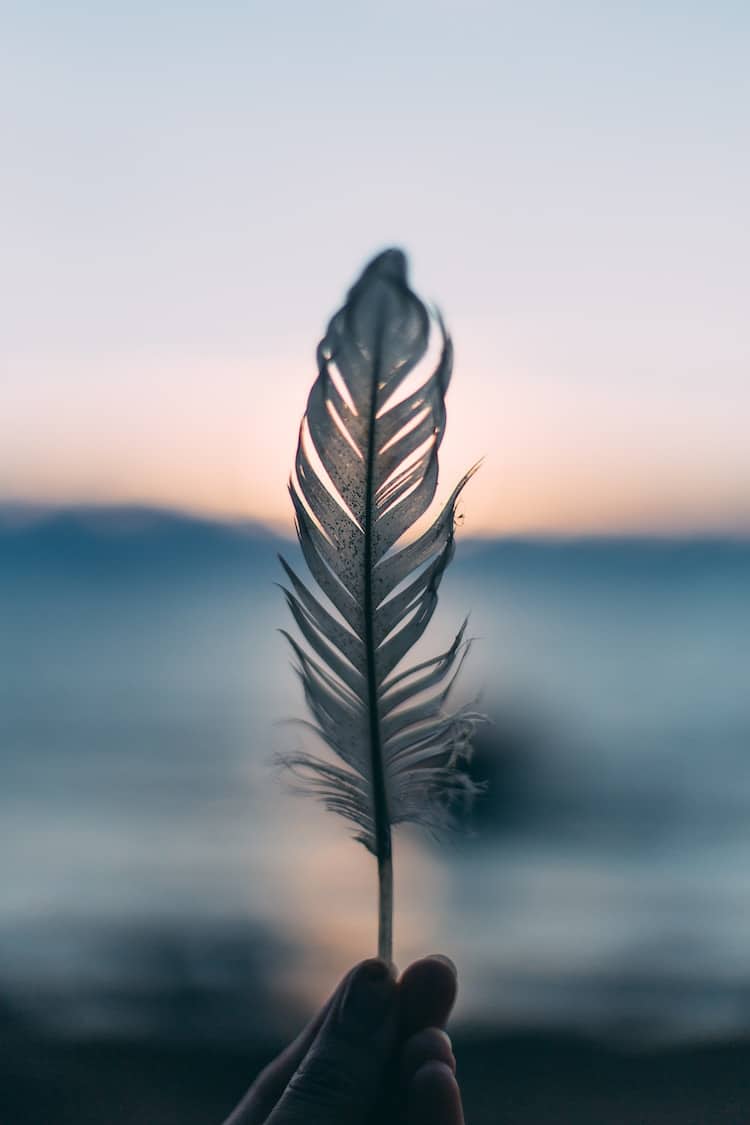
Photo:Daiga Ellaby
Drawing Steps: How to Draw a Feather
1.
Grab your source material.
Look for a high-quality image that highlights the feathers.
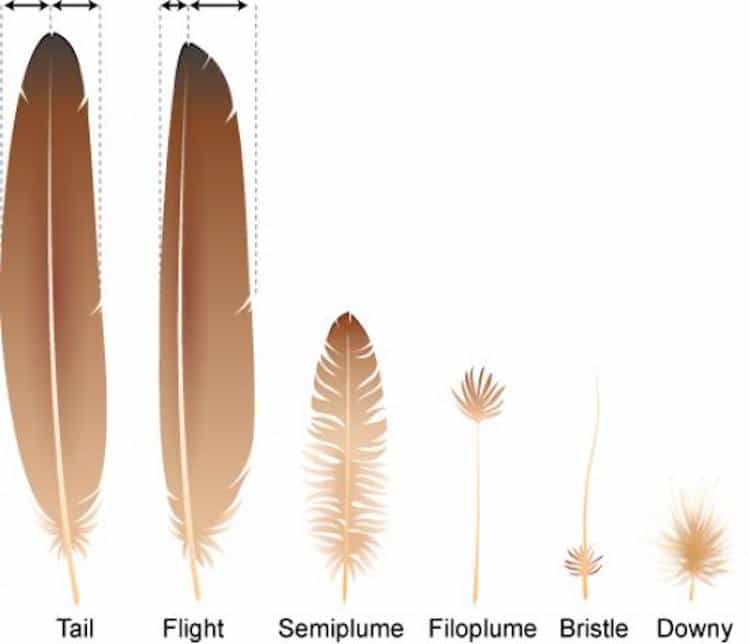
Diagram:Arizona State University
For an extra challenge, draw a bird who has a lot of plumage.
prior to beginning to draw, take time to gather your supplies.
You will want to have at least two or three pencils with varying types of graphite.
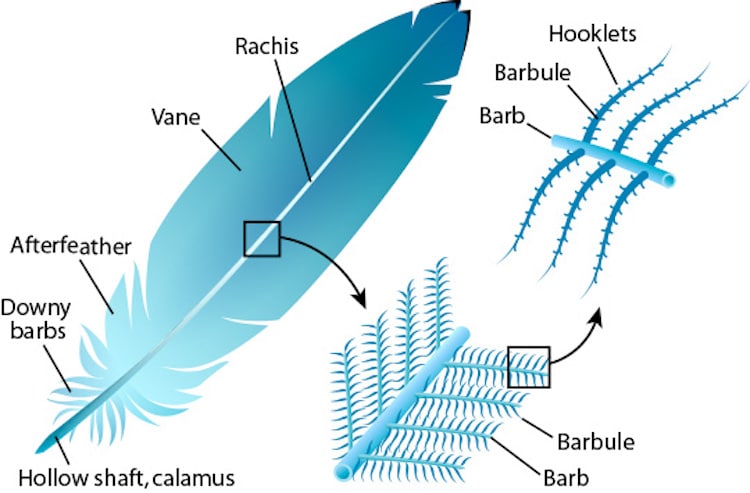
Diagram:Arizona State University
We’ve written an entire guide on thebest drawing pencilsfor people of every skill level.
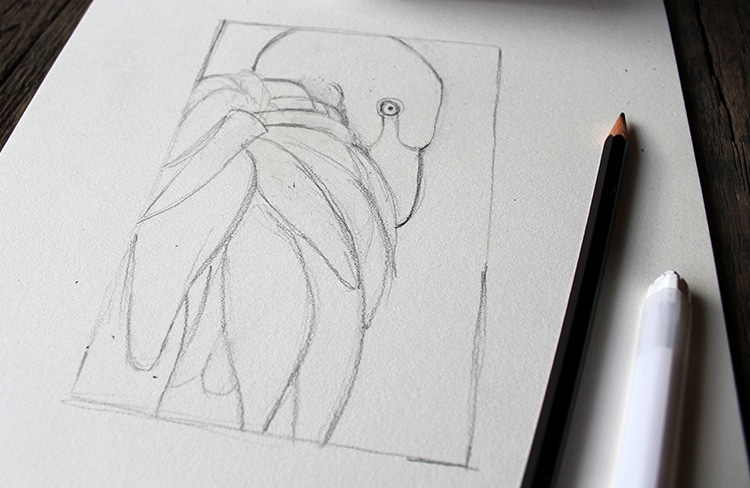
Lightly sketch your outlines.
Study your source material to determine the most prominent features of the image.
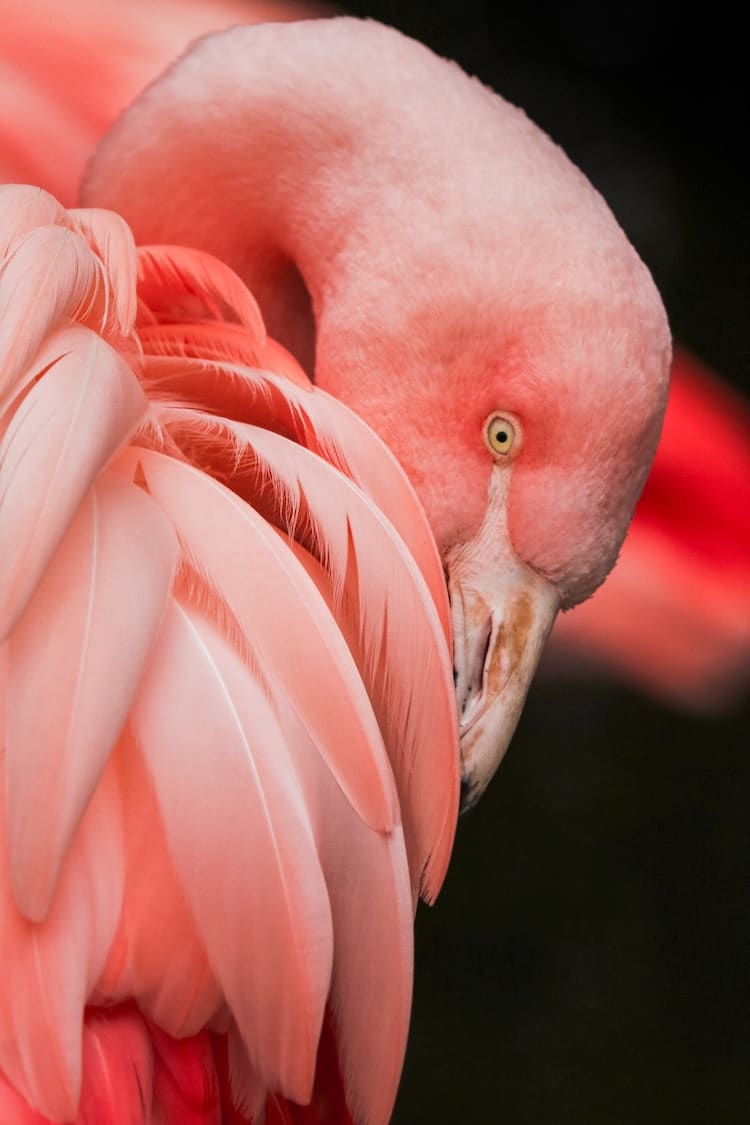
Photo:Gwen Weustink
Then, begin lightly sketching its overall shapes using your HB pencil.
The beginning stages of these drawings are often the most important part of the entire process.
It’s here that you’ll want to be thoughtful and figure out proportions.

Ask yourself questions about the image.What types of feathers are visible?
How much bigger are the feathers in the front compared to the feathers in the back?
Do the feathers obscure anything?
What is behind them?
when you’ve got an initial sketch complete, go back through and check your work.
Does your drawing look like the photograph?
(You’ll be less likely to do so, too!)
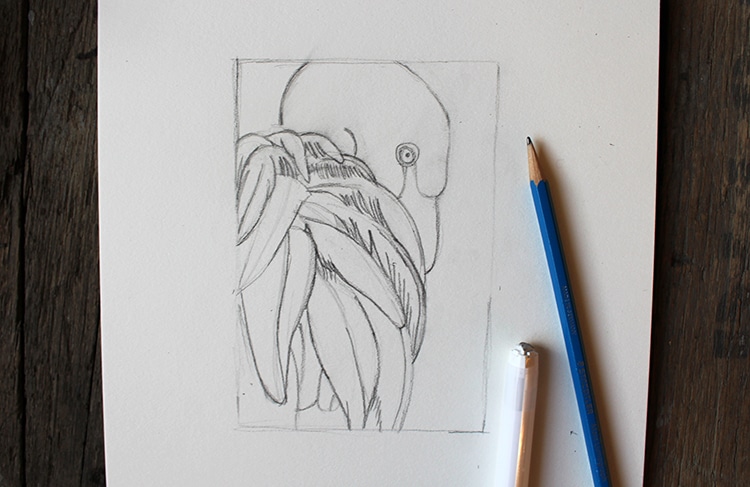
Refine your initial sketch.
Once you’re confident and happy with your outlines, begin to refine your feather drawing.
This might seem like a daunting step, but don’t worry.
Take it feather by feather and you’ll be fine.
With each part of the plumage, observe what you see and record it on your paper.
Note when this happens and signify the fringe with long, single lines that drape over other feathers.
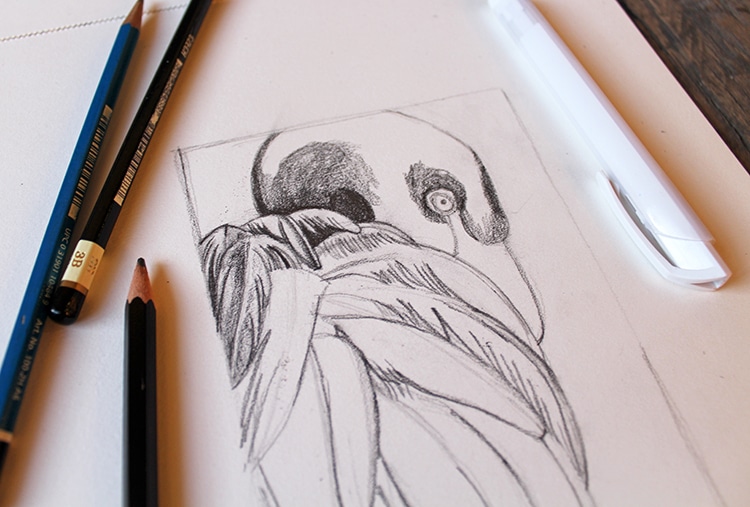
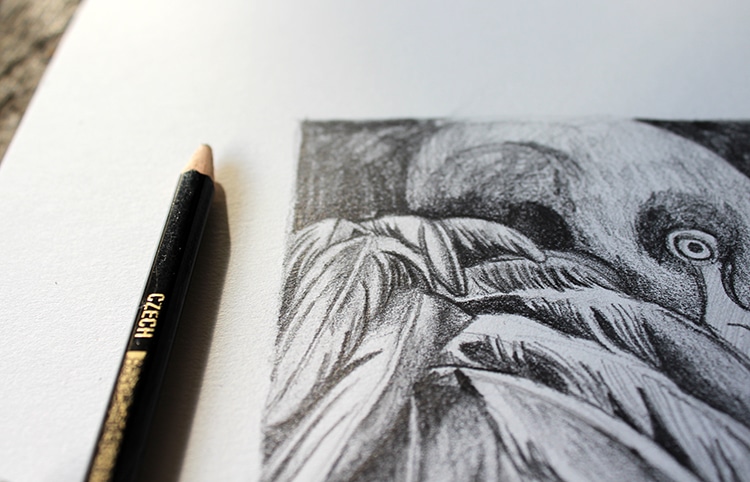
Begin to shade your drawing.
Now the fun begins!

All of your sketching and planning begins to take on a three-dimensional form when you begin shading.
Going feather by feather, replicate its shading and highlights in your drawing.
It will most likely have some sort of highlight on it followed by thin shadows on either side.
When drawing the fringe of the feathers, it’s best to use an H-graphite pencil.
The hard lead doesn’t easily smear and is perfect for precise details like long hairs.
For feathers that are obscured by other feathers, the B-graphite pencil will achieve the rich black tones.
Work feather by feather until you’re done.
Shading will take you a while, but the end result is worth it.
Before you high-five yourself for a job well done, take one last look at your drawing.
Make an assessment:Is there anything that looks strange?
