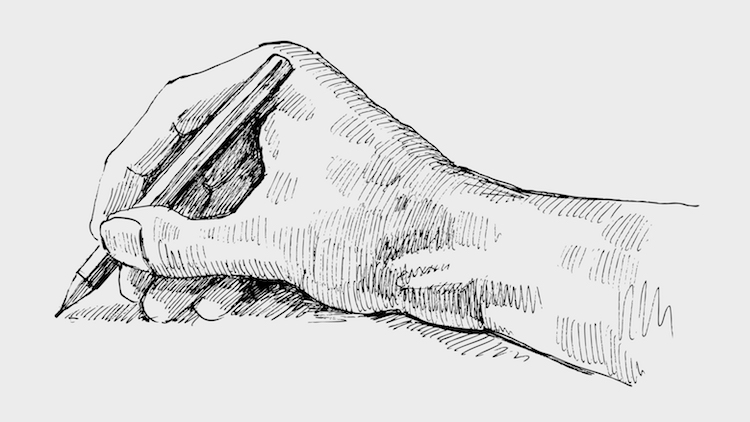
Drawing of a hand.
(Photo:Stock Photosfrom bioraven/Shutterstock)This post may contain affiliate links.
If you make a purchase, My Modern Met may earn an affiliate commission.
Drawing of a hand. (Photo:Stock Photosfrom bioraven/Shutterstock)This post may contain affiliate links. If you make a purchase, My Modern Met may earn an affiliate commission. Please readour disclosurefor more info.
c’mon readour disclosurefor more info.
Drawing human anatomy is tricky.
One reason that the hands are difficult to draw is that they can easily look askew.
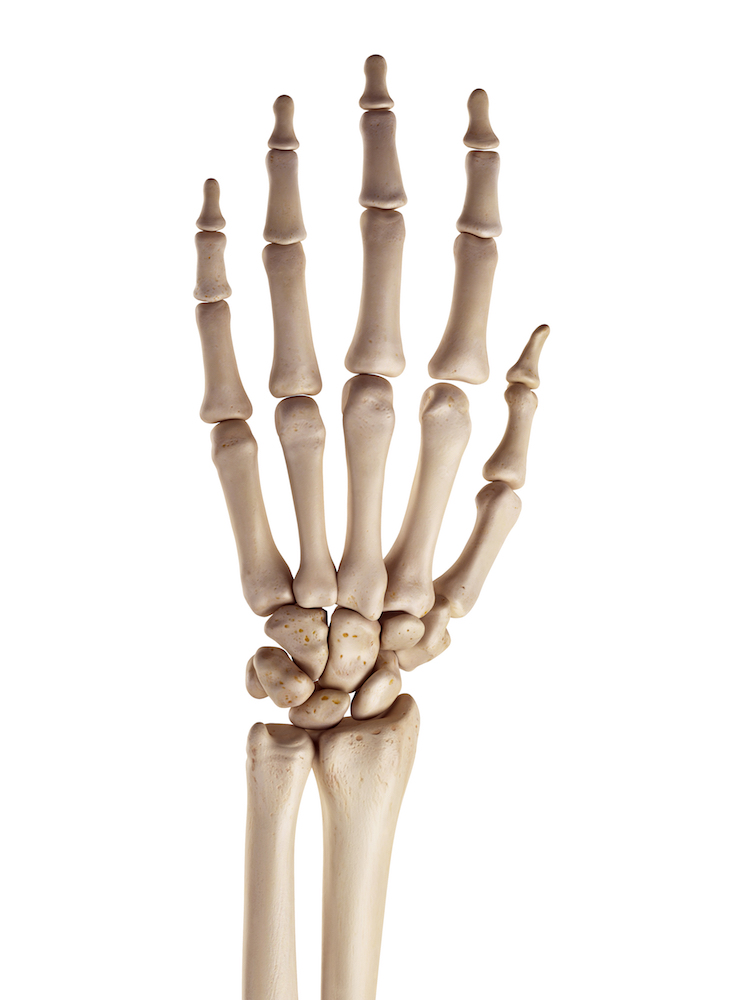
Medical illustration of hand bones. (Photo:Stock Photosfrom Sebastian Kaulitzki/Shutterstock)
(Thats why so many artists hide them by stuffing them into pockets!)
Theres a fine line between too little and too much realism.
Or a misshapen finger can make the hand look like a claw.
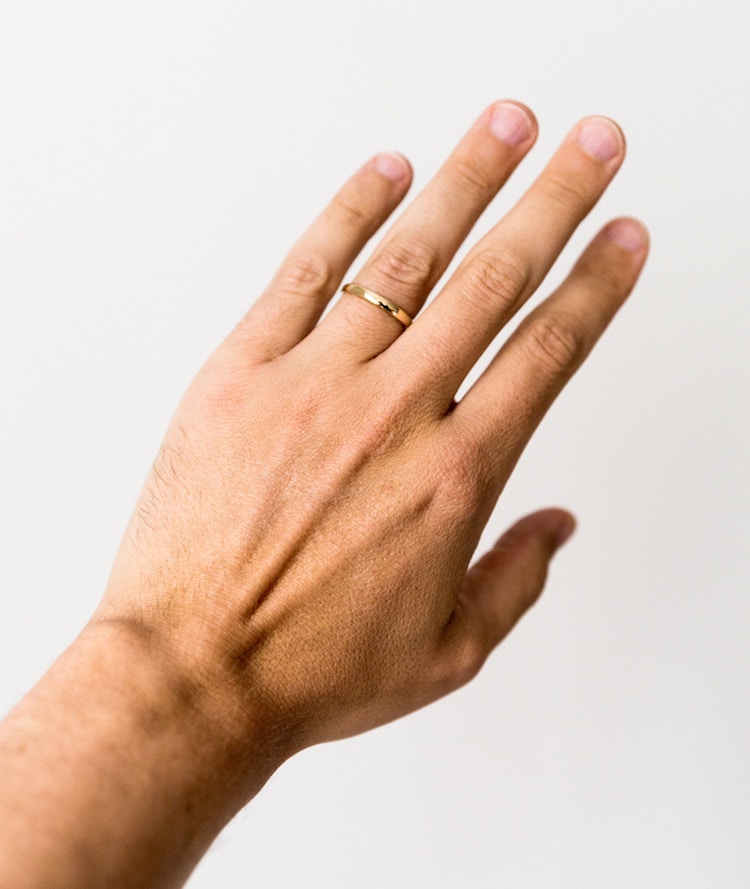
Photo:MR O.K
Bone Structure of a Human Hand
Medical illustration of hand bones.
You neednt memorize all of the bones in the hand.
Instead, youll want to familiarize yourself with the general structure.
Youll want at least three pencils plus awhite eraser.
Want to know our favorite pencils?
Check out thebest drawing pencilsthat professionals and beginners are sure to love.
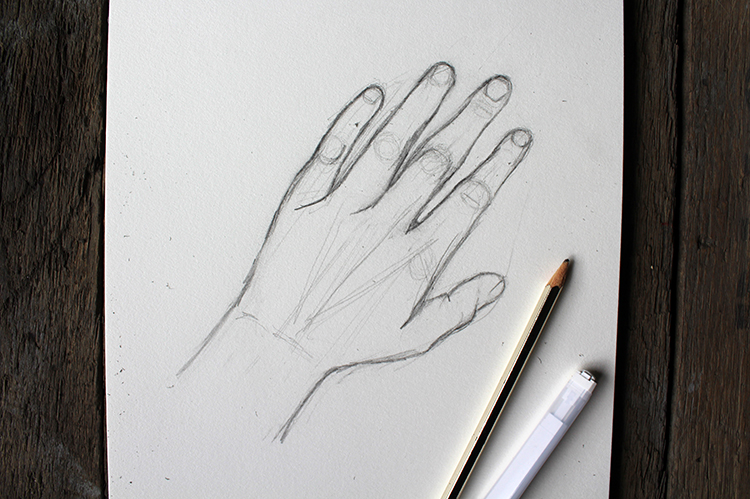
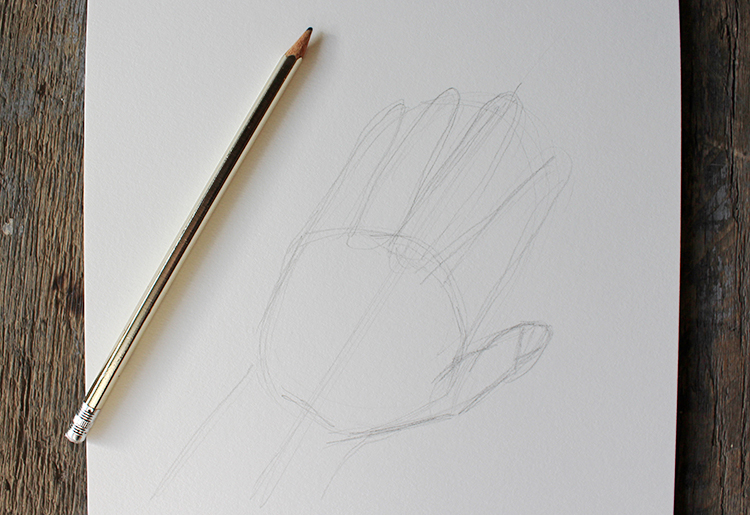
Photo:MR O.K
When youre learning to draw, its best to observe from real life.
But often, when sketching parts of the body, this is difficult.
The palm will probably look like a big circle while the fingers will appear as cylinders.

Pay attention to proportions.
For instance, how long is the middle finger compared to the palm of the hand?
Going beyond proportions, observe the angles of every finger and the thumb.
(Plot the angles of the fingers using a thin, straight line on your page.)
Additionally, determine what is the longest finger, and how much space there is between each of them.
In examining and recording what you see, youre setting yourself up for a successful drawing.
This part of the process is the most forgiving because its easy to erase and correct any mistakes.
It wont be that simple going forward!
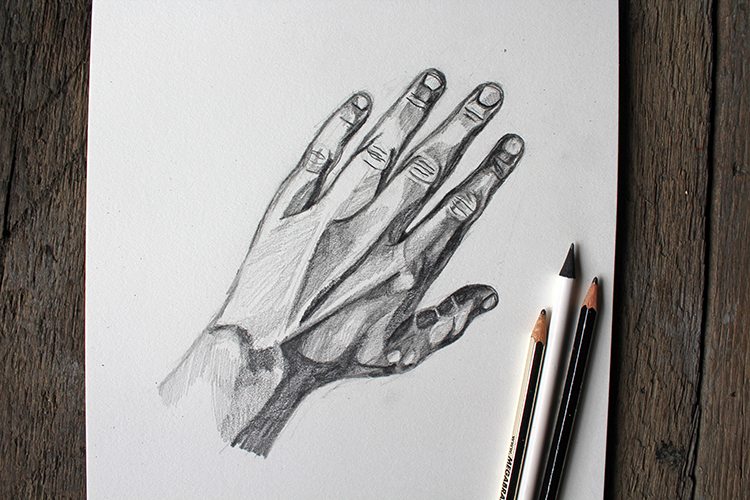
Using contour lines, pencil in the folds you see present in the fingers and joints.
(Just like the bone structure shows!)
At this point, you’re free to also start to block out the areas of shadow.
On your sketch, indicate the shape of the shadows and highlights.
Working finger by finger, apply shadows to your drawing, taking note of the intensity of them.
The bones underneath the fingers are also spots with highlights.
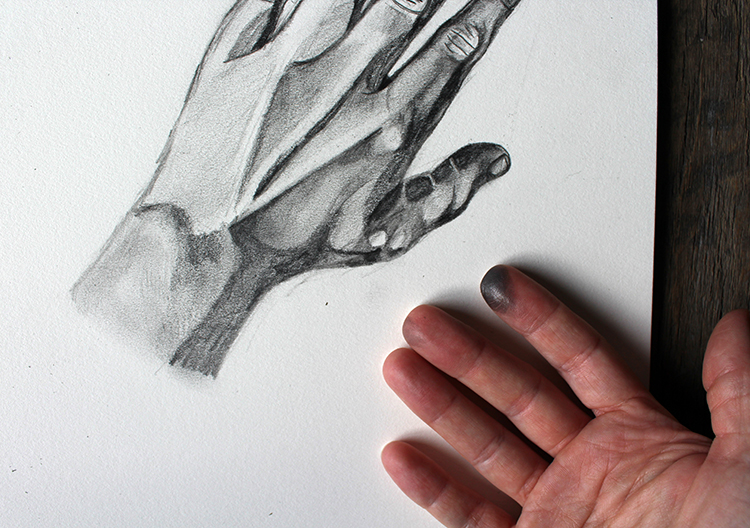
They can age your subject (unless they are older) or make the hand look unnatural.
It can cause your hand to look patchy and disjointed.
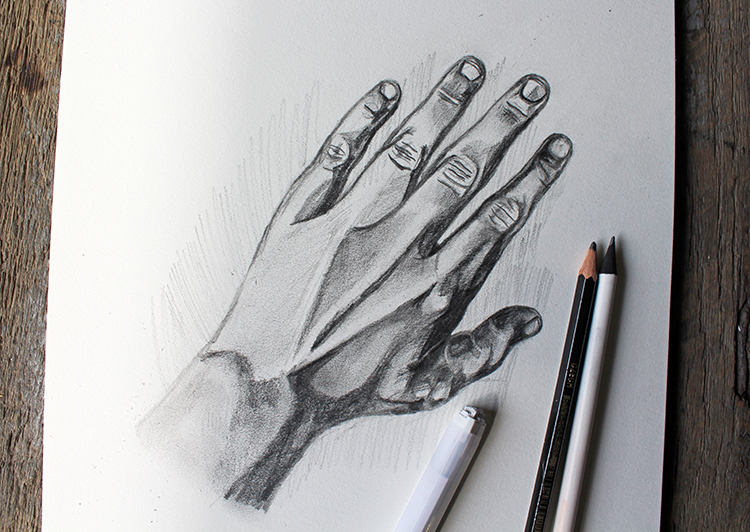
Step 5: Refine Any Shading and Celebrate: Youre Done!
Once youve blended your shading, go back over your hand.
Determine where these are, but it shouldnt take longthese are the final touches.
Then, celebrate your accomplishment.
Your hand drawing is done!
Remember, practice makes perfect, so have fun and keep drawing!
Related Articles:
New to Drawing?
