Photo:Stock Photosfrom Imageinit/ShutterstockThis post may contain affiliate links.
If you make a purchase, My Modern Met may earn an affiliate commission.
just readour disclosurefor more info.
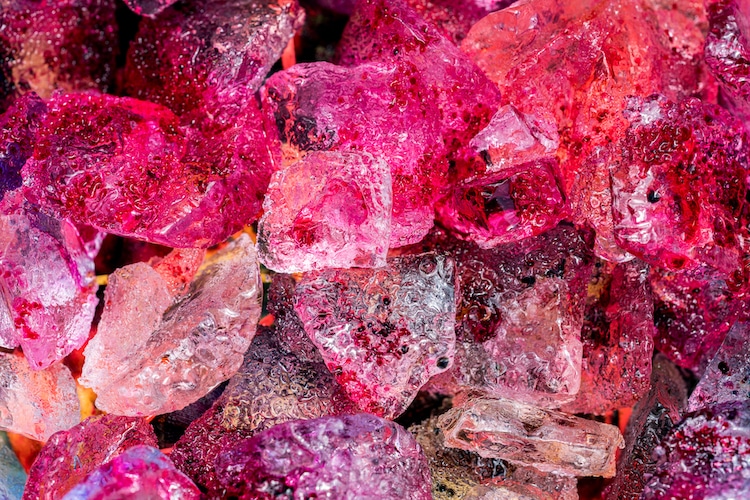
Photo:Stock Photosfrom Imageinit/ShutterstockThis post may contain affiliate links. If you make a purchase, My Modern Met may earn an affiliate commission. Please readour disclosurefor more info.
When crafting, it’s always a good goal to make your work as original as possible.
That way, you’re not just creating but expressing yourself, too.
For fibers, it doesnt get much more customized than when you dye your own fabric.
The ice dye approach is great for beginners.
It’s easy to create swirling surface designs without fancy twisting or folding of your fabric.
Instead, youll just place ice on top of the fabric and sprinkle dye on the ice.
What is ice dyeing?
We normally dont notice it when using conventional methods, as the water unifies the powder into one color.
If you dont like a little surprise in your crafting, ice dyeing might not be for you.
The patterns and surface design that appear will be dictated by the ice meltnot by you.
Step 2 Soak items in a mixture of water and soda ash in your dishpan.
(check that you are wearing gloves.)
This will create a permanent connection to hold the dye to the fiber.
Read manufacturer instructions for proper mixing ratios and soaking times.
Step 3 Venture outdoors with your dishpan, metal rack, fabric, and ice.
Step 4 With a spoon, start sprinkling the dye on it in sections.
Heres where you might get creative and combine multiple colors and quantities of the pigment.
Try using two to three colors and sprinkle them around the areas of the ice for color variation.
Step 5 Allow your project to sit for several hours for the ice to melt.
(The warmer the day, the faster this will happen.)
Step 6 Once the ice has melted, rinse the fabric under water until the water runs clear.
Then, place the fabric into a washing machine and tumble to dry.
