Photo:Stock Photosfrom Oksana_Schmidt/ShutterstockThis post may contain affiliate links.
If you make a purchase, My Modern Met may earn an affiliate commission.
yo readour disclosurefor more info.
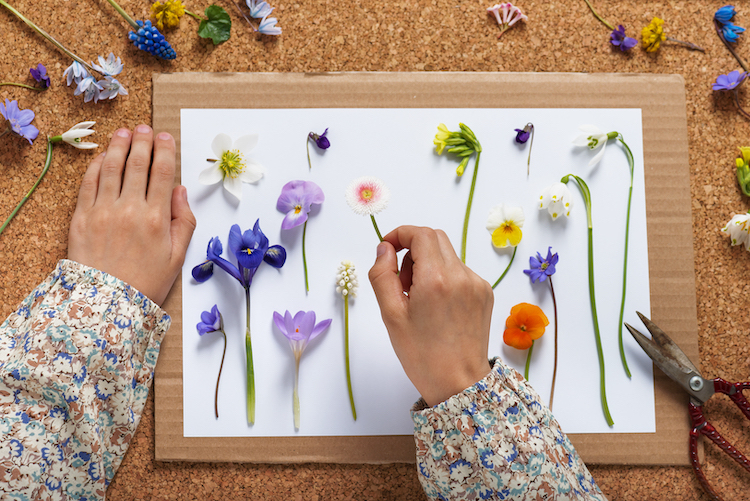
Photo:Stock Photosfrom Oksana_Schmidt/ShutterstockThis post may contain affiliate links. If you make a purchase, My Modern Met may earn an affiliate commission. Please readour disclosurefor more info.
A popular pastime of theVictorian era, flower pressing is a wonderful way to repurpose fresh blooms.
There is a very low barrier to entry for those who might be curious to try flower pressing.
Scroll down to learn the various ways to press blooms.
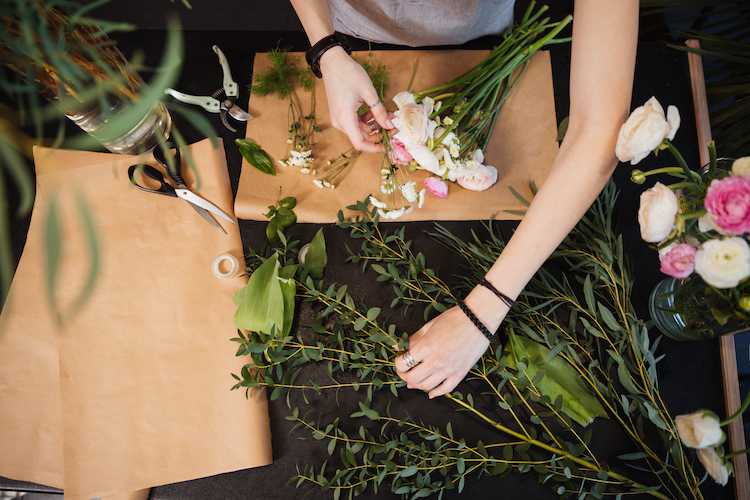
Photo:Stock Photosfrom Shift Drive/Shutterstock
Supplies You’ll Need
Photo:Stock Photosfrom Shift Drive/Shutterstock
FlowersThere are no restrictions on flowers.
(double-check they arent too wet, either.)
Absorbent paper As you press flowers, you are essentially drying them out as well.
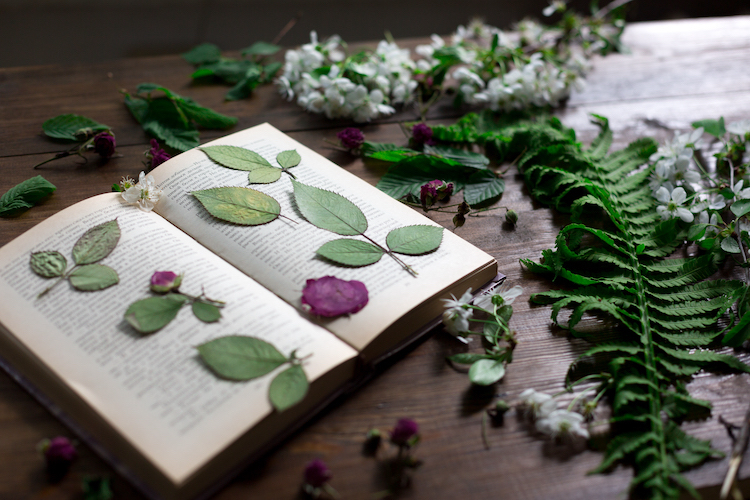
Photo:Stock Photosfrom march.photo/Shutterstock
Layering them in between pieces of paper helps to absorb some of the moisture.
Youll want to use absorbent paper such aswatercolor paper,parchment paper, thin cardboard, or coffee filters.
Sturdy flat object so you can press the flowers completely, you will need a sturdy flat object.
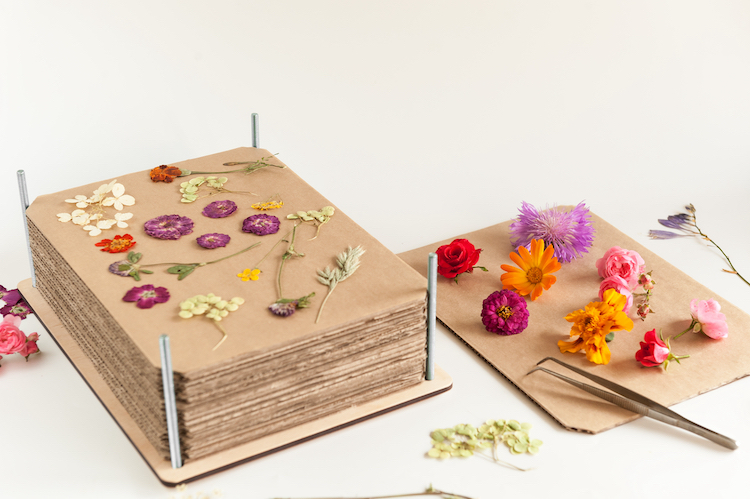
Photo:Stock Photosfrom Olena Antonenko/Shutterstock
This item will vary based on the pressing method you plan on using.
The most common objects to use, however, are books or wooden boards.
Then, close it in the pages of your book.
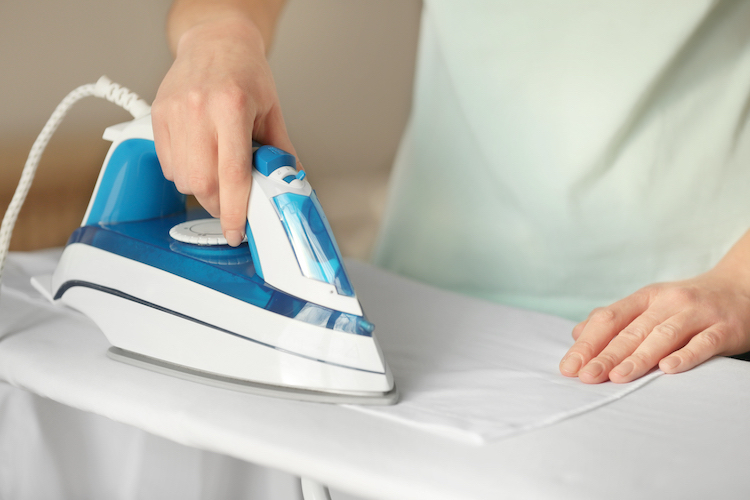
Photo:Stock Photosfrom Africa Studio/Shutterstock
Step 2 Youll need to add more weight to ensure that the flower is pressed properly.
To do this, stack a few more books on top.
It is also the ideal method for preserving the flowers color.
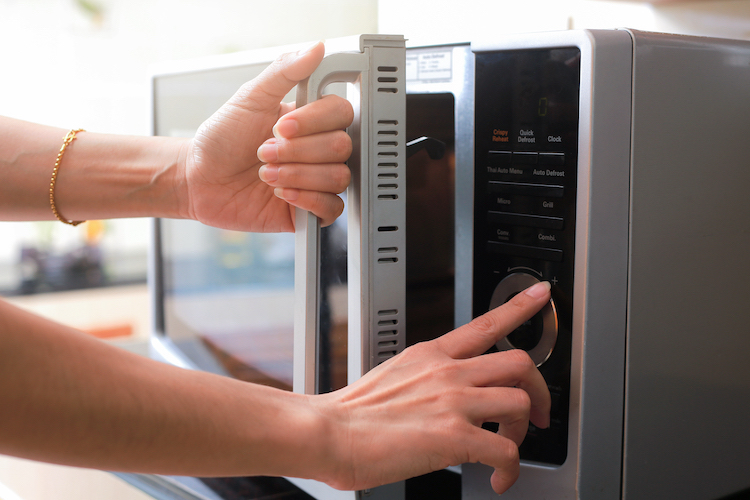
Photo:Stock Photosfrom Zyn Chakrapong/Shutterstock
On the other hand, you could simplybuy oneas well.
Step 1 First, layer your flowers on the press.
check that that the flowers are sandwiched between two pieces of paper before you put them on the board.

Photo:Stock Photosfrom Rawpixel.com/Shutterstock
Step 2 Tighten the press.
If you are using straps, give a shot to tighten them as evenly as possible.
Once dried completely, you’re able to remove the flowers from the press.
Any additional moisture will prevent the flower from drying out and pressing properly.
Step 3 Once the iron is warm, press it on the paper for about 15 seconds.
Remove the iron and let the flower sit until the paper has cooled.
Step 4 Repeat this process until the flower is stiff and dry.
But remember: youll need an object to press the flower with that can be heated in the microwave.
Step 1 First, sandwich your flowers between two pieces of paper.
(You should be pretty familiar with this step by now.)
Step 4 Repeat this process until the flower is dry.
Then they should be dried after a couple of days instead of weeks.
Be sure to store them in a cool, dry place out of direct sunlight.
And what to do next with all those blooms?
Get crafty, of course!
