This post may contain affiliate links.
If you make a purchase, My Modern Met may earn an affiliate commission.
just readour disclosurefor more info.
This post may contain affiliate links. If you make a purchase, My Modern Met may earn an affiliate commission. Please readour disclosurefor more info.
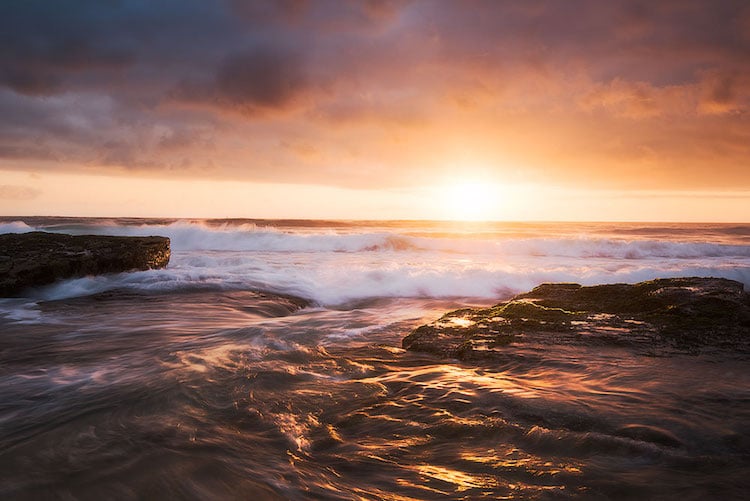
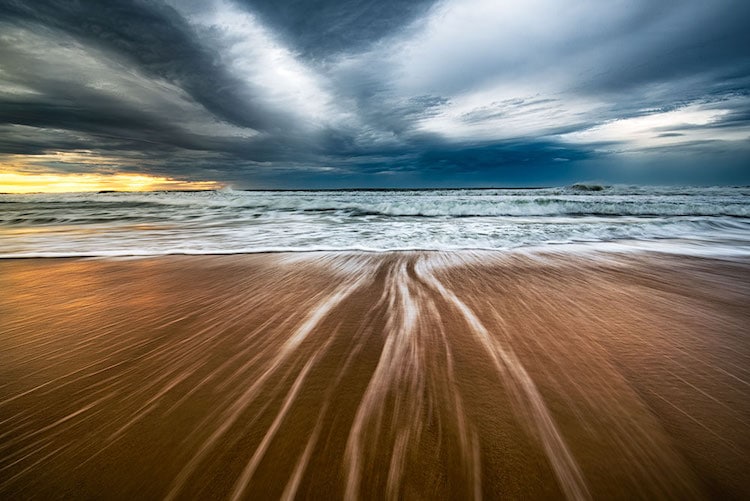
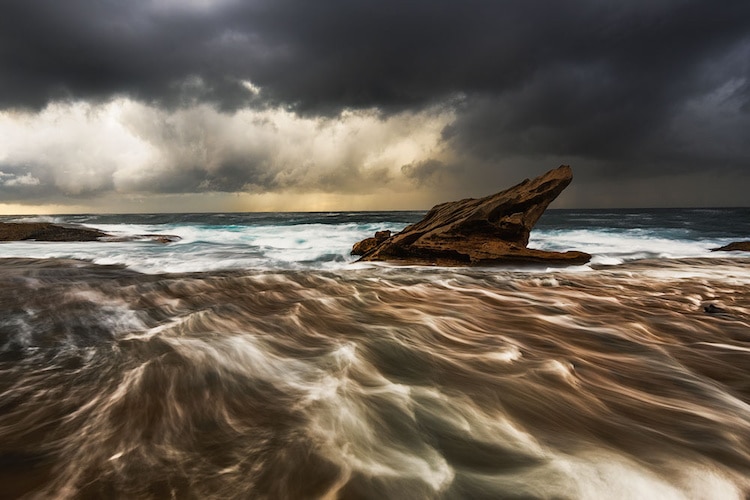
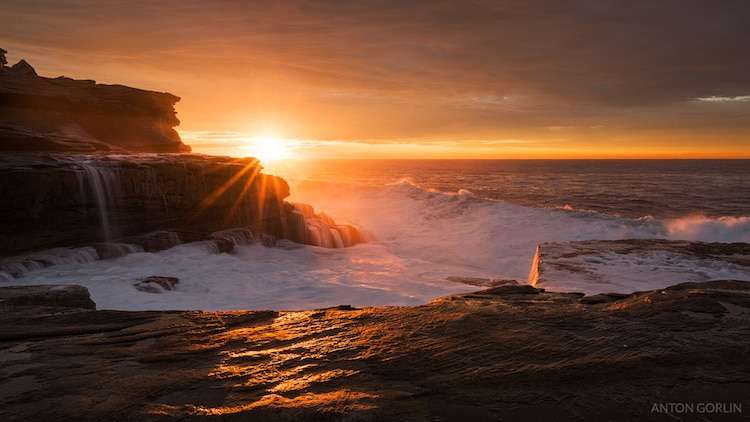
Crashing ocean waves and scenic visual landscapes make seascapes an irresistible subject for many photographers.
But, getting the final results that you’d like isn’t always easy.
Often the sky will appear overexposed or it’s impossible to snap just at the moment the waves crash.
Luckily, Australia-based landscape photographerAnton Gorlinhas offered his expertise in a comprehensive guide on how to master seascape photography.
you might read the full guide to seascape photography onGorlin’s blog, and even download a PDF version.
Here’s his suggested toolkit of websites and apps to help you plan your seascape photography.
For instance, want to capture that spectacular sunrise or sunset?
So what does Gorlin suggest to verify you get the perfect shot?
First and foremost, safety is always a consideration.
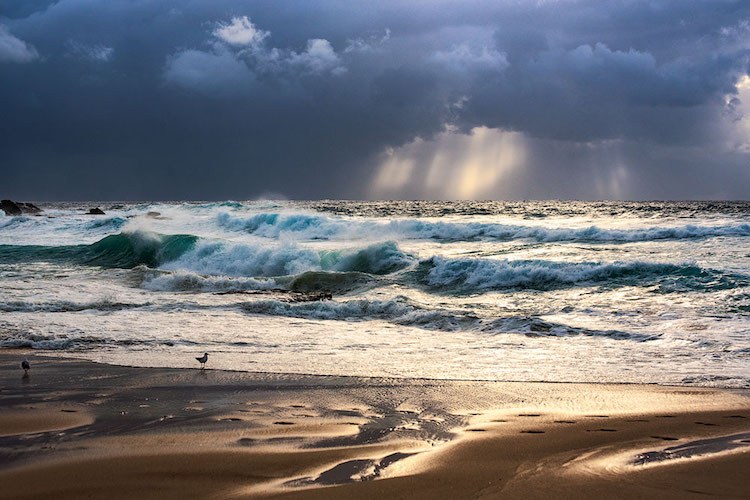
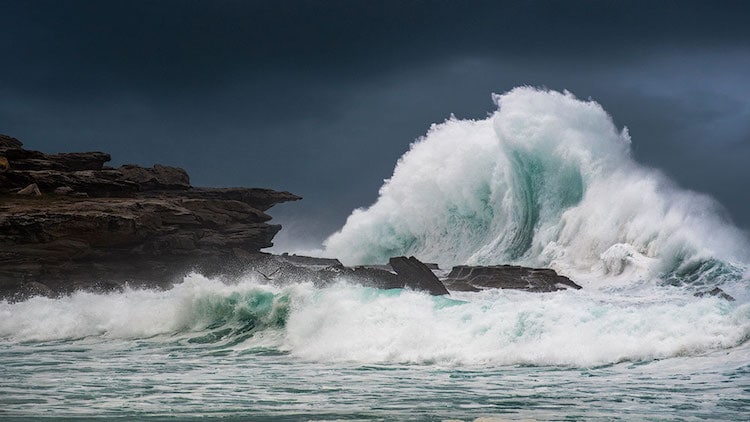
With the crashing waves, I recommend to shoot them from a distance using a tele lens zoomed in.
For the crashing wave, you better choose your position so that you are 100% safe.
Take a look around, are the rocks/sand around you dry?
If they are not, maybe some waves reach here.
You should be standing at the lowest point you could near the sea level.
When you do so, the waves tower over the horizon bringing in more power and menace.
While professional equipment can cost thousands of dollars, there arebudget waterproof camera casesavailable that should do the trick.
Otherwise, its dangerous and will likely knock you over.
Luckily, there are a few ways around the issue.

Gorlin recommends neutral density filters, which preserve hues while changing the light for all colors in the frame.
These filters come in different exposure stops and are either hard edge or soft edge.
What’s the difference?

For the mountains, instead, you’re gonna wanna use soft edge filter.
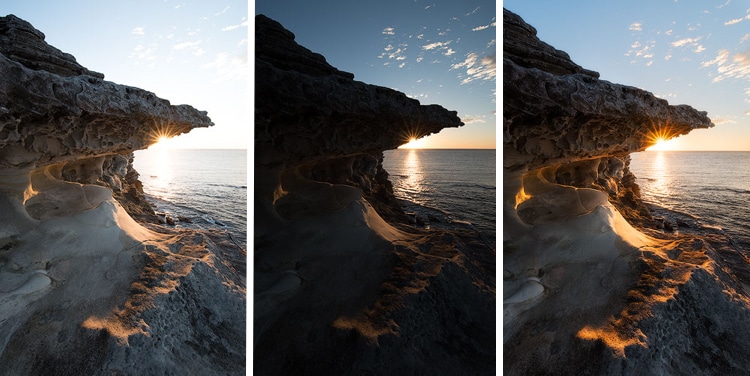
Polarizing filtersare another popular choice for seascape photography, as they will darken the sky and boost saturation.
As an added bonus, polarizing filters also cut glare allowing you to see through bodies of still water.

Before and after using a polarizing filter
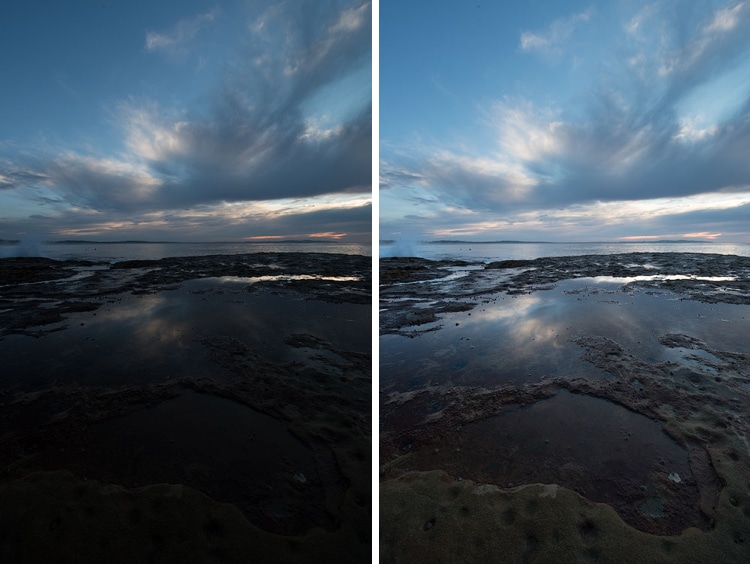
Looking at them, one should be underexposed, one overexposed, and the last right in the middle.
Gorlin notes that with this technique, the quality is a tad worse than a correctly exposed image.
The colors and the contrast suffer the most.
Example of bracketing
But it is still an option, and I often do it if the lighting allows.
Underexposed RAW image before and after editing
