Photo:Nicole HoneywillThis post may contain affiliate links.
If you make a purchase, My Modern Met may earn an affiliate commission.
kindly readour disclosurefor more info.
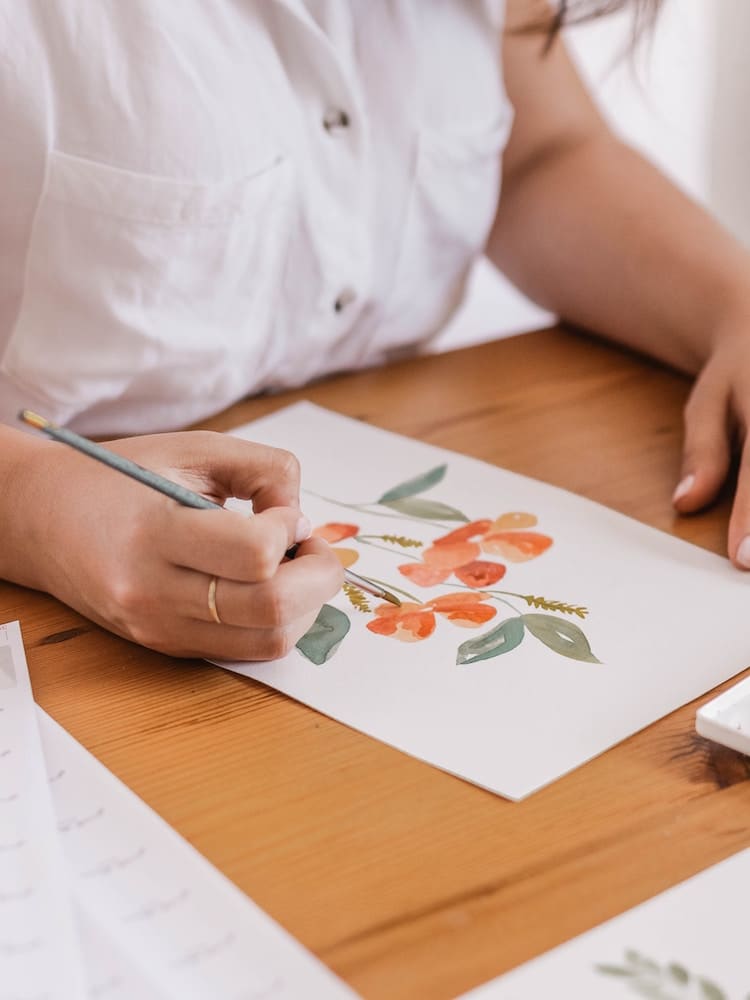
Photo:Nicole HoneywillThis post may contain affiliate links. If you make a purchase, My Modern Met may earn an affiliate commission. Please readour disclosurefor more info.
The beauty of blooms have inspired artists for centuries.
Flowers are apopular subject for painting, and they transcend media and artistic movements.
While you might be thinking that only trained artists should be painting, thats simply not true.
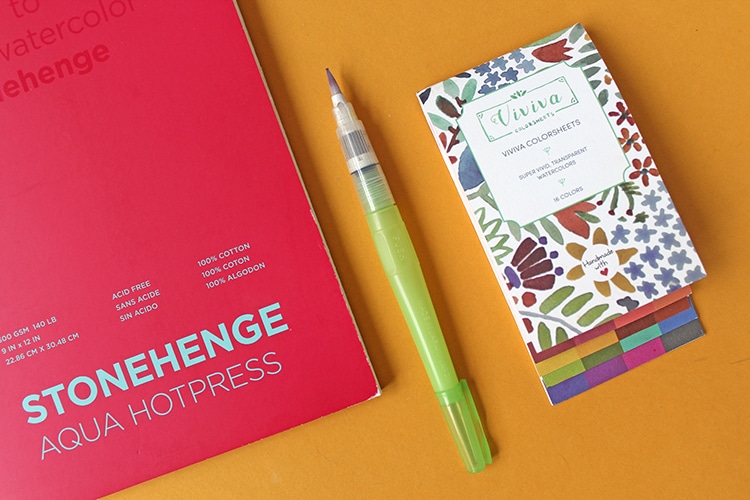
Photo: Sara Barnes / My Modern Met
Learning how to paint flowers is available for anyone to learn, no matter their skill level.
Watercolor paintlends itself well to recreating flowers.
One reason is that the barrier to entry is low.
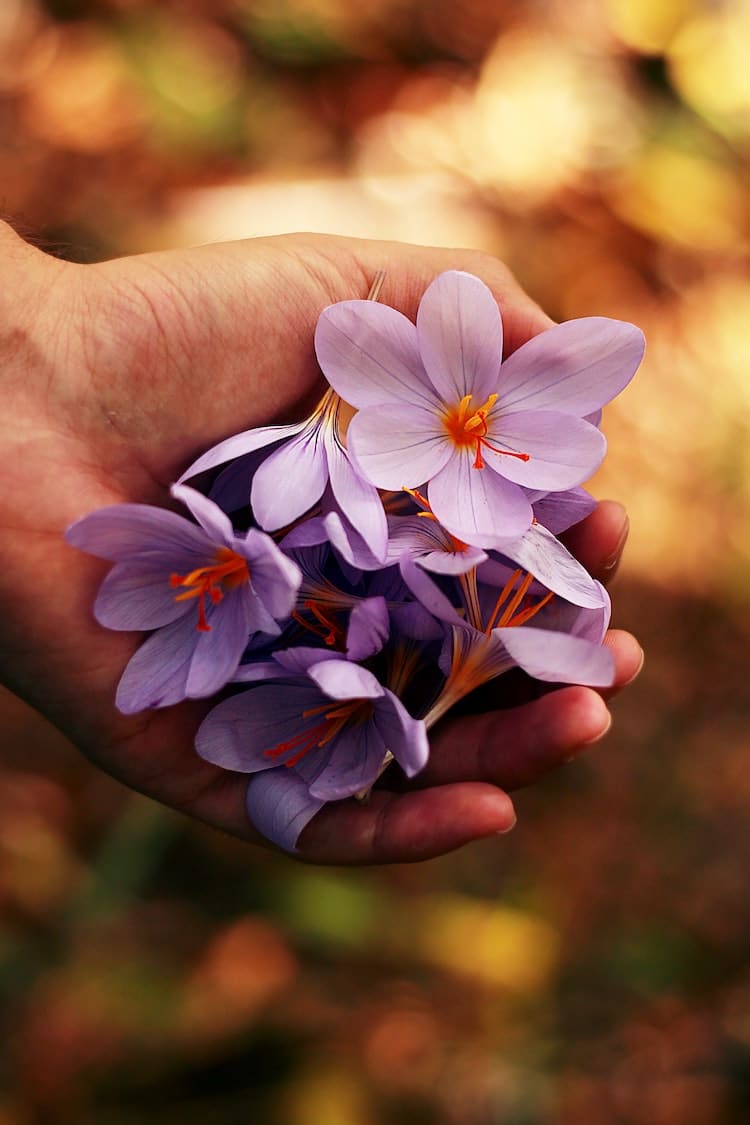
Photo:Roberta Sorge
Pair your watercolors with a brush or two and wet-media paper and youre ready to get started.
Learn how to paint watercolor flowers by following along in our step-by-step tutorial!
Before you begin painting, youll want to have the following supplies on hand.
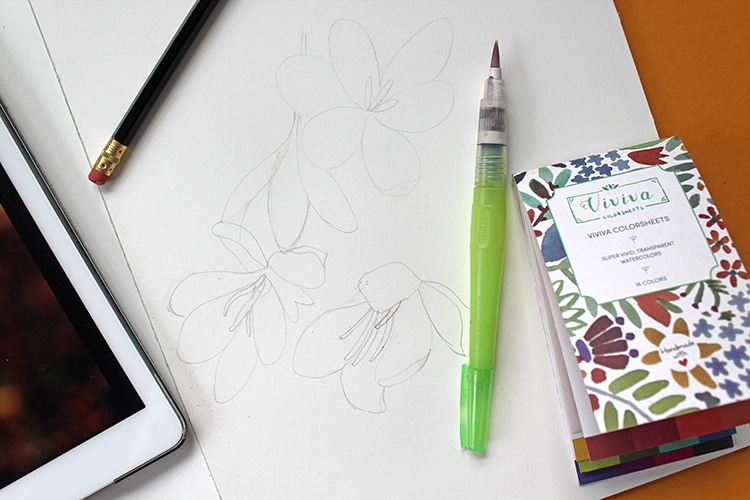
Photo & artwork: Sara Barnes / My Modern Met
Need some advice on what to buy?
We have a guide featuring13 of the best watercolor paint setsthat both beginners and professional artists love.
For this tutorial, were using a My Modern Met favorite:Viviva Colorsheets.
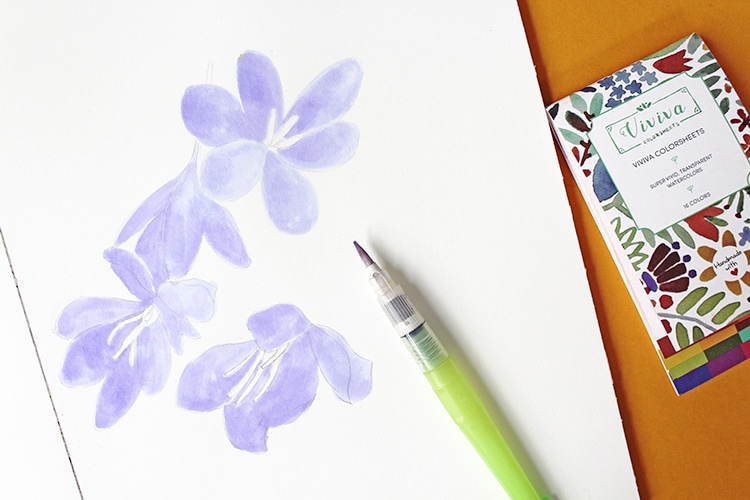
Photo & artwork: Sara Barnes / My Modern Met
To accommodate this, the paper needs to be thick so that it can withstand the liquid without curling.
We are using a pad ofLegion Aqua Hotpress paper.
Wet media brushes Grab a couple of different sizes of watercolor brushes.
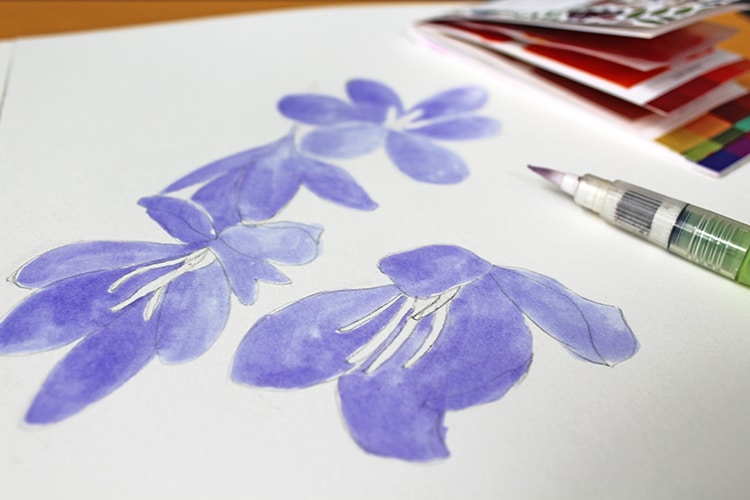
Photo & artwork: Sara Barnes / My Modern Met
Some sets, however, include a built-in palette that works just fine for mixing.
Step 1: Select your source photo.
Your flowers might wilt by then!
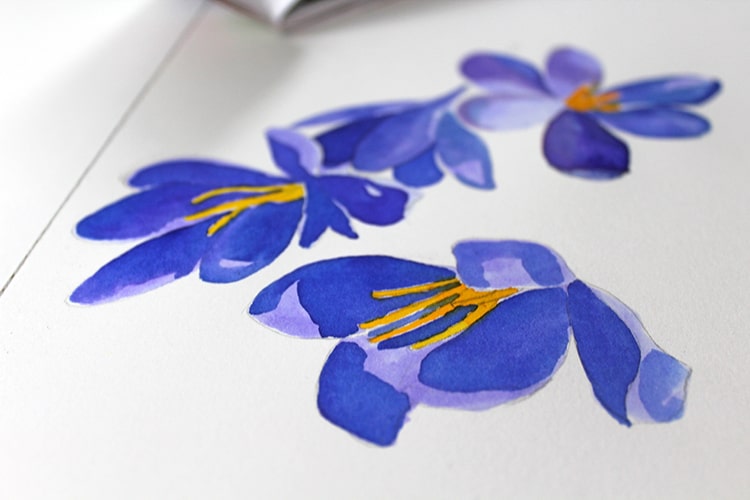
Photo & artwork: Sara Barnes / My Modern Met
Opt for a photo instead.
Step 2: Draw what you’ll paint.
Photo & artwork: Sara Barnes / My Modern Met
Drawingis the foundation of painting.
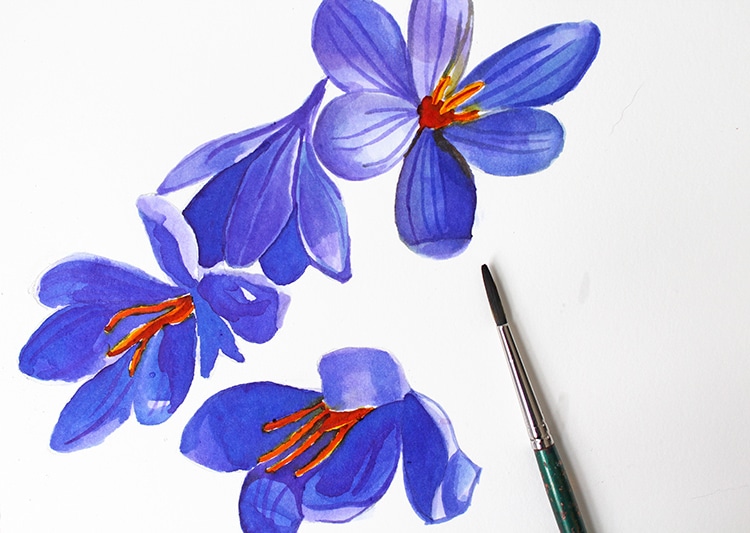
Photo & artwork: Sara Barnes / My Modern Met
So before you put paint to paper, you’ll want to complete a drawing of your flowers.
Working from your source photo, lightly record the overall shape and center of the flowers.
As you draw, double-check that you don’t press too hard on your paper.
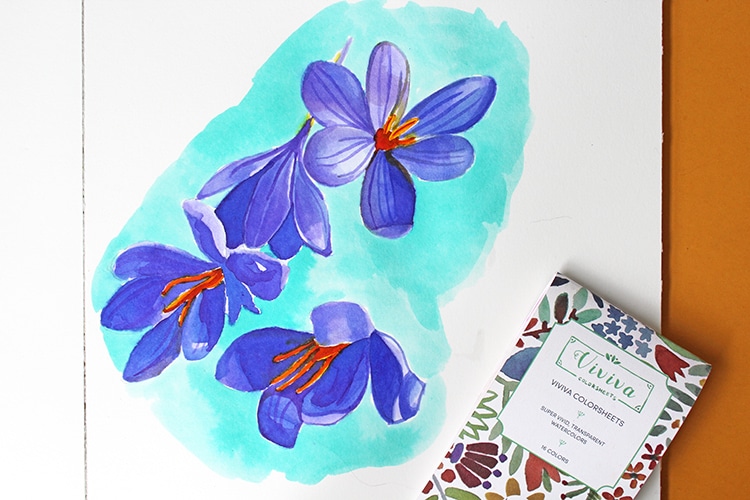
Photo & artwork: Sara Barnes / My Modern Met
Take your time with this step.
Learn drawingin our step by step tutorial.
Step 3: Apply your first washes.
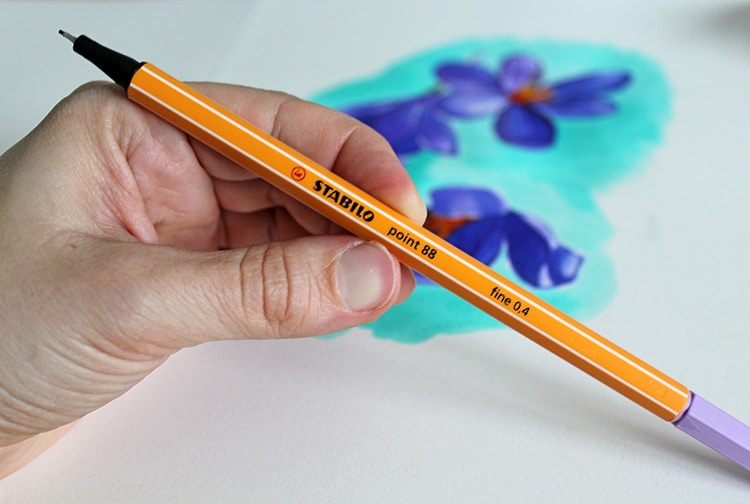
Photo & artwork: Sara Barnes / My Modern Met
Awashis a pigment that has been thinned using water or amedium.
The more those elements are mixed in with the paint, the thinner and looser the pigment becomes.
To start your flower painting, you’ll want to start light so that build rich colors.
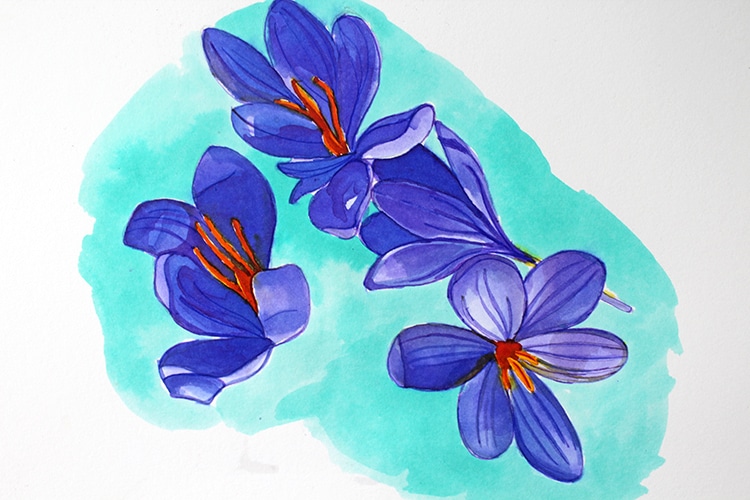
Photo & artwork: Sara Barnes / My Modern Met
Begin by selecting the overall hue of your flowers.
The center of the flowers, which are yellow and orange, are left blank for now.
If some of your petals have white marks on them, see to it youdo notpaint those areas.
Step 4: Continue to build color.
Wait for your first layer of paint to dry.
Using the wash technique, continue to build your color layer by layer.
Allow them to dry in between.
Each time you mix a new hue, add a little less water to it.
This will make the pigment darker.
Coupled with the layers of paint, you’ll start to build three-dimensional volume to your painting.
As you work, refer to both your drawing and your source photo.
Consider: where are the areas of darkness?
What places are in highlight?
Painting from life is centered around these sort of questions and answering themso don’t be afraid to ask.
Step 5: Add the finer details.
This is where aliner brush(pictured) comes in handy.
When you’re done, assess your painting with more questions.
Are there areas that need more definition?
What about the background?
Make those changes if need be.
Step 6: Incorporate mixed media (optional).
Although this is a painting tutorial, there’s nothing wrong withmixing media.
